Have an account?
Log in to check out faster.
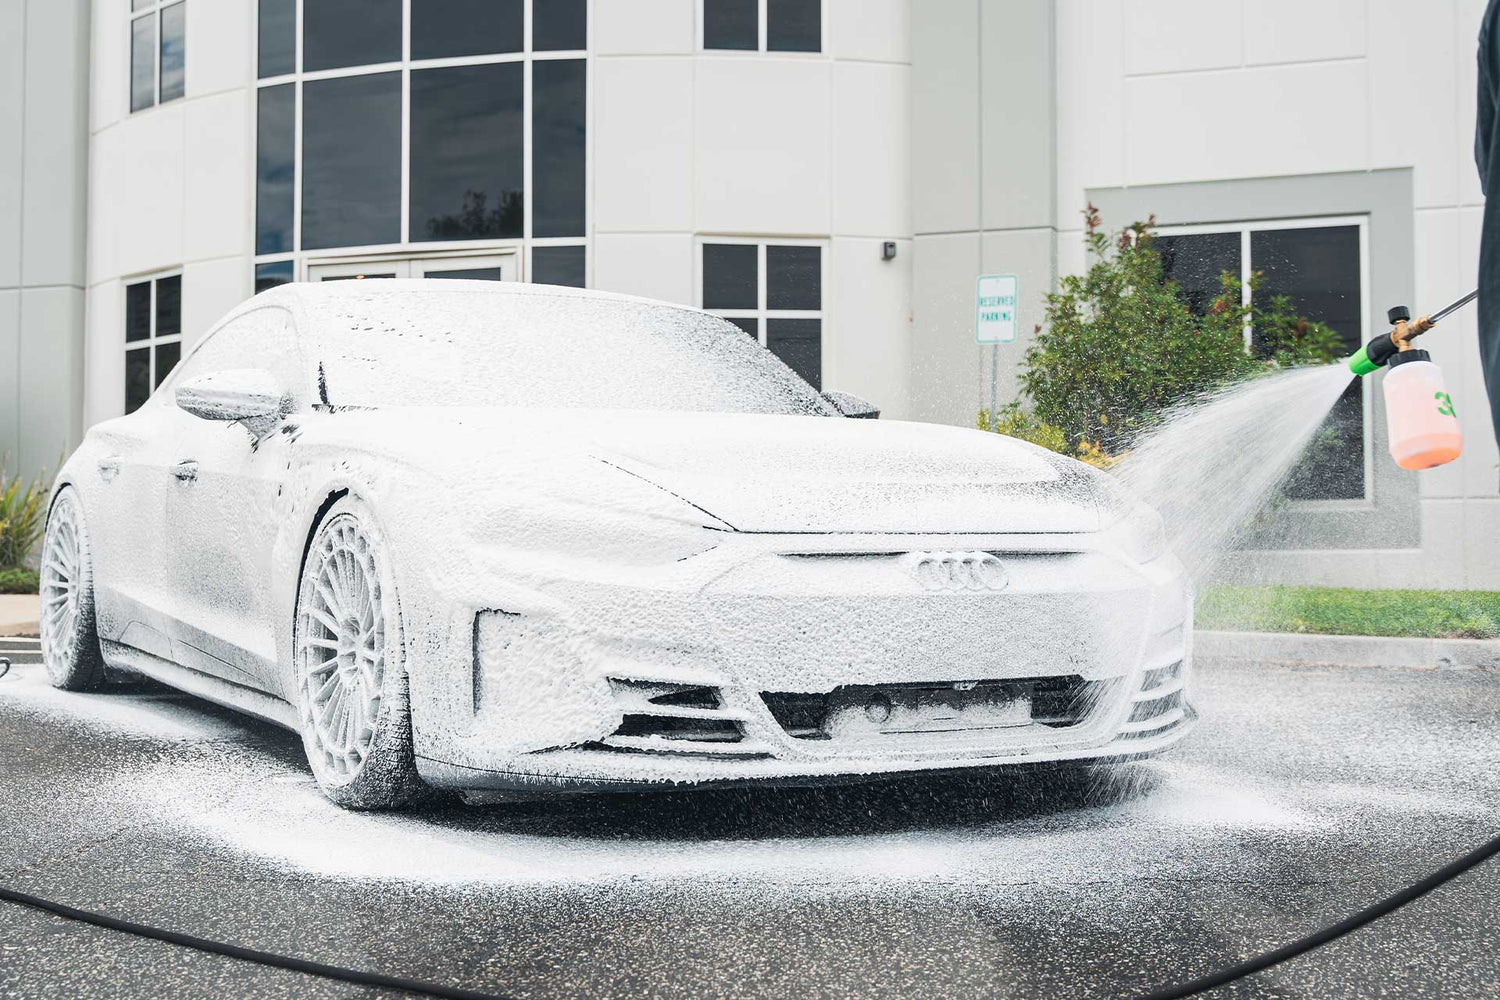
First impressions are everything. Our premium exterior car wash products cover all...
Loading...
MEMORIAL DAY SALE! Use Code MEMORIAL15 for 15% OFF SITEWIDE!
Free Shipping on Orders Over $49!*
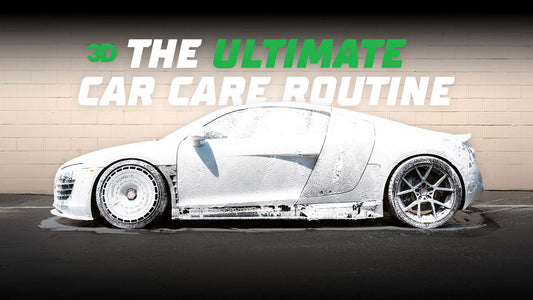
There are nine fundamental stages to detailing, and the professional detailers at 3D have meticulously organized our products by each stage of the detailing process. Whether you're beginner or a seasoned pro, these processes will help you find the products you're looking for.
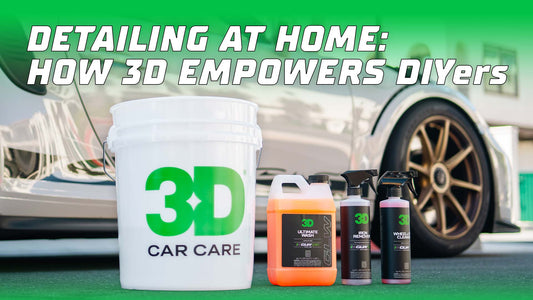
Not sure what product line is best for you? Whether you are a professional, DIYer, enthusiast, body shop or gel-coat focused, we got a product line for you.
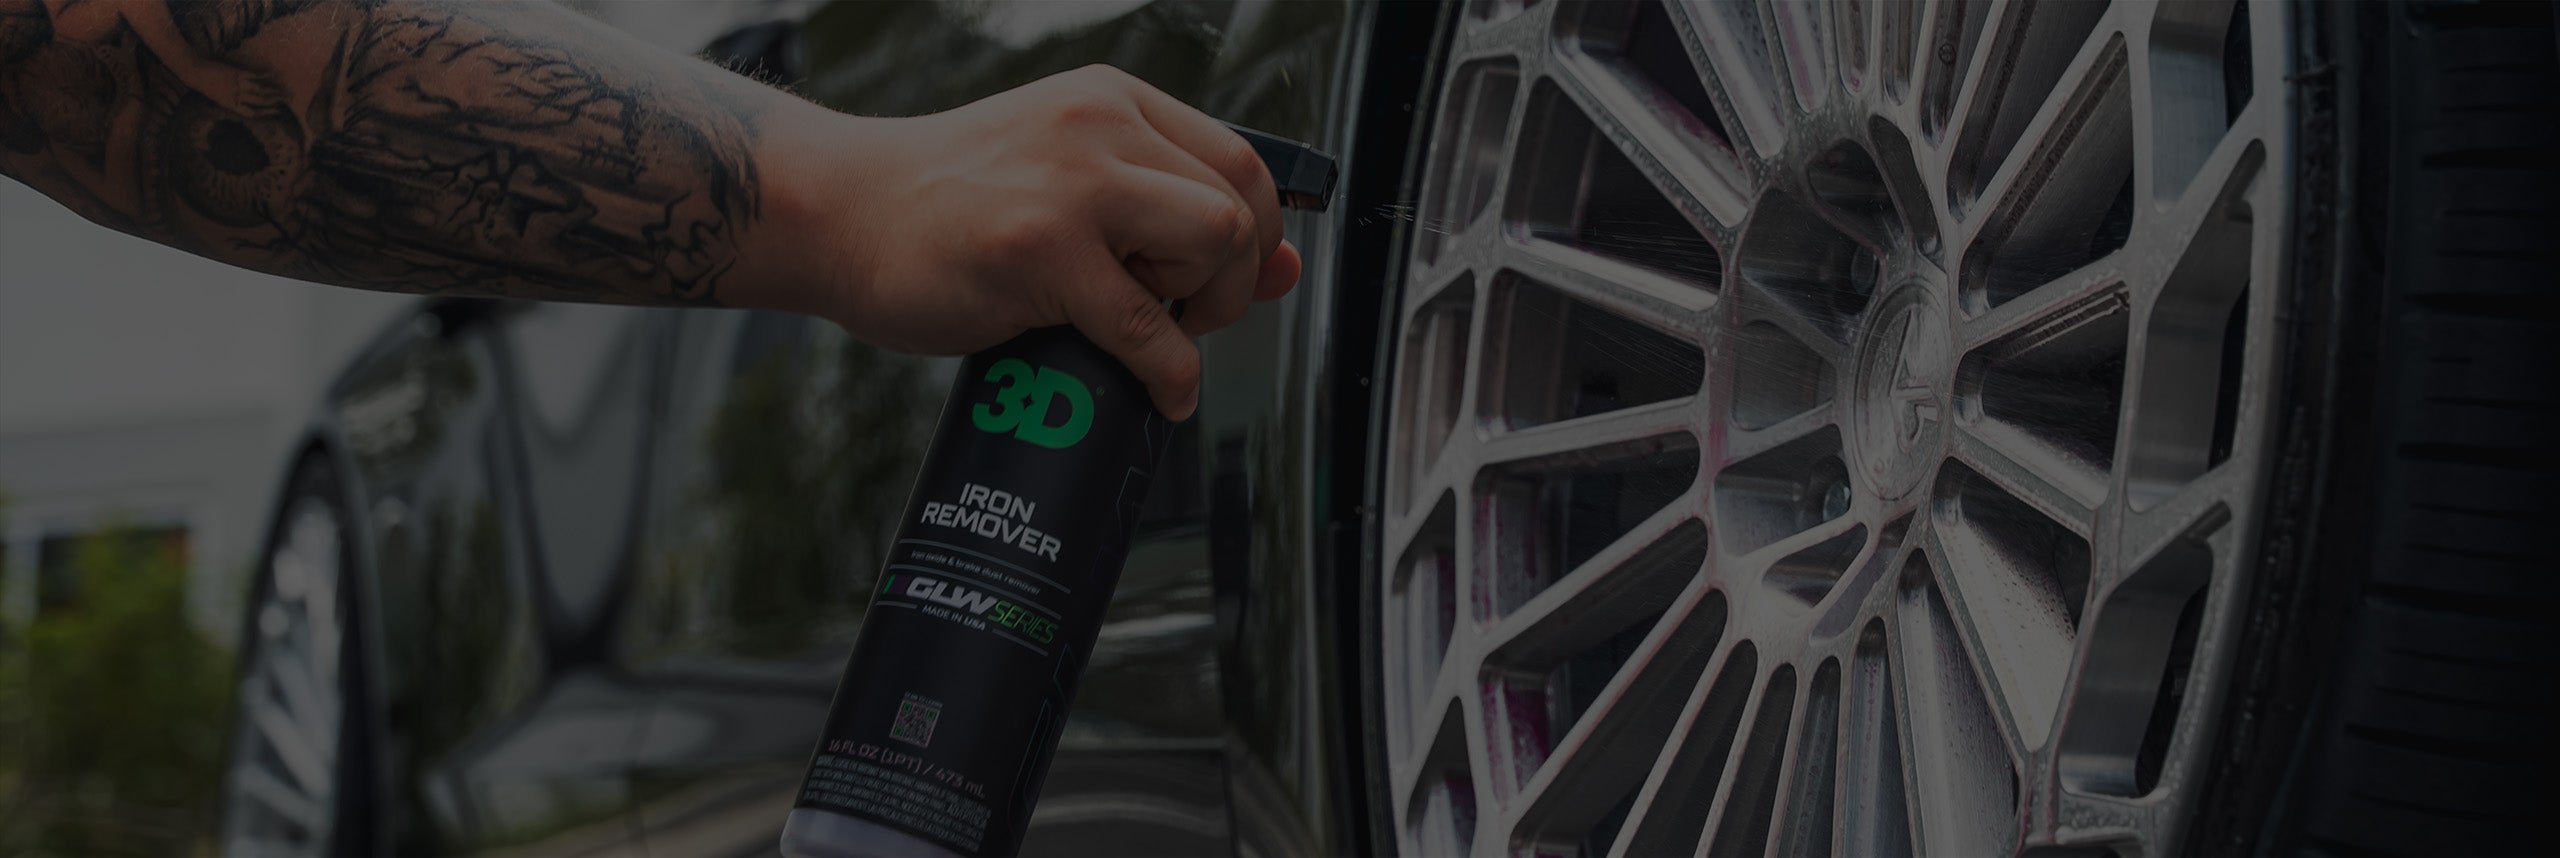
Shop from a collection of premium exterior detailing products designed to elevate the appearance and protection of your vehicle. Our hand-crafted selection of exterior detailing products encompass everything from advanced cleaning solutions to high-performance protective coatings.
Shop from a collection of premium interior detailing products. Whether you're looking to rejuvenate your car's cabin or maintain its pristine condition, our curated selection has everything you need, from carpet and upholstery cleaners to odor eliminators.
Shop from a collection of premium compounds and polishes. Whether you're a professional detailer or a dedicated car enthusiast, our range of compounds and polishes offers everything you need to achieve that perfect finish. From heavy-duty cutting to fine polishing, each product is designed to handle specific challenges.
Having the right chemicals is one thing, having the right accessories and tools is another. Whether you are polishing, washing, claying, deep cleaning or just touching your car up for a show, our high-quality buffing pads, microfiber towels, applicator pads, foamers, and more are the perfect solution to safe and effective car wash and detail.