


The 9 Steps of Detailing a Car

There are a ton of guides out there about the stages of detailing. Some are 6 steps, while others are 12 steps. Truthfully, there is no one-size-fits-all solution. Essentially, it comes down to how in-depth you want to go when it comes to detailing your car. That said, it's important not to confuse a car wash to a detail. Afterall, it's in the name: detail. It can be intimidating at first, but detailing doesn't have to be. Most of the steps we're going to outline are actually easy to do, and depending on the condition of the vehicle you're working on, some steps can even be skipped. Here at 3D Car Care, every product we make has the user in mind. We ensure all of our products are easy to understand, and even easier to use to achieve the best results possible. So, our expert detailers put this simple step-by-step guide on how to really detail your car.
What Is Detailing?
Most people have heard of detailing, but how many actually know what it is? The general public is likely to assume detailing is just a step above a standard car wash. But it is so much more than that. Detailing a car is an extensive process that aims to improve and maintain the condition of a vehicle, both inside and out. A standard car wash, or what’s referred to in the industry as a maintenance wash, focuses only on cleaning dirt, grime and filth from the exterior of the vehicle, and in most cases, a simple wipe-down and vacuum of the interior. On the flip side, detailing is much more thorough, and in some cases includes things like paint decontamination and paint correction.
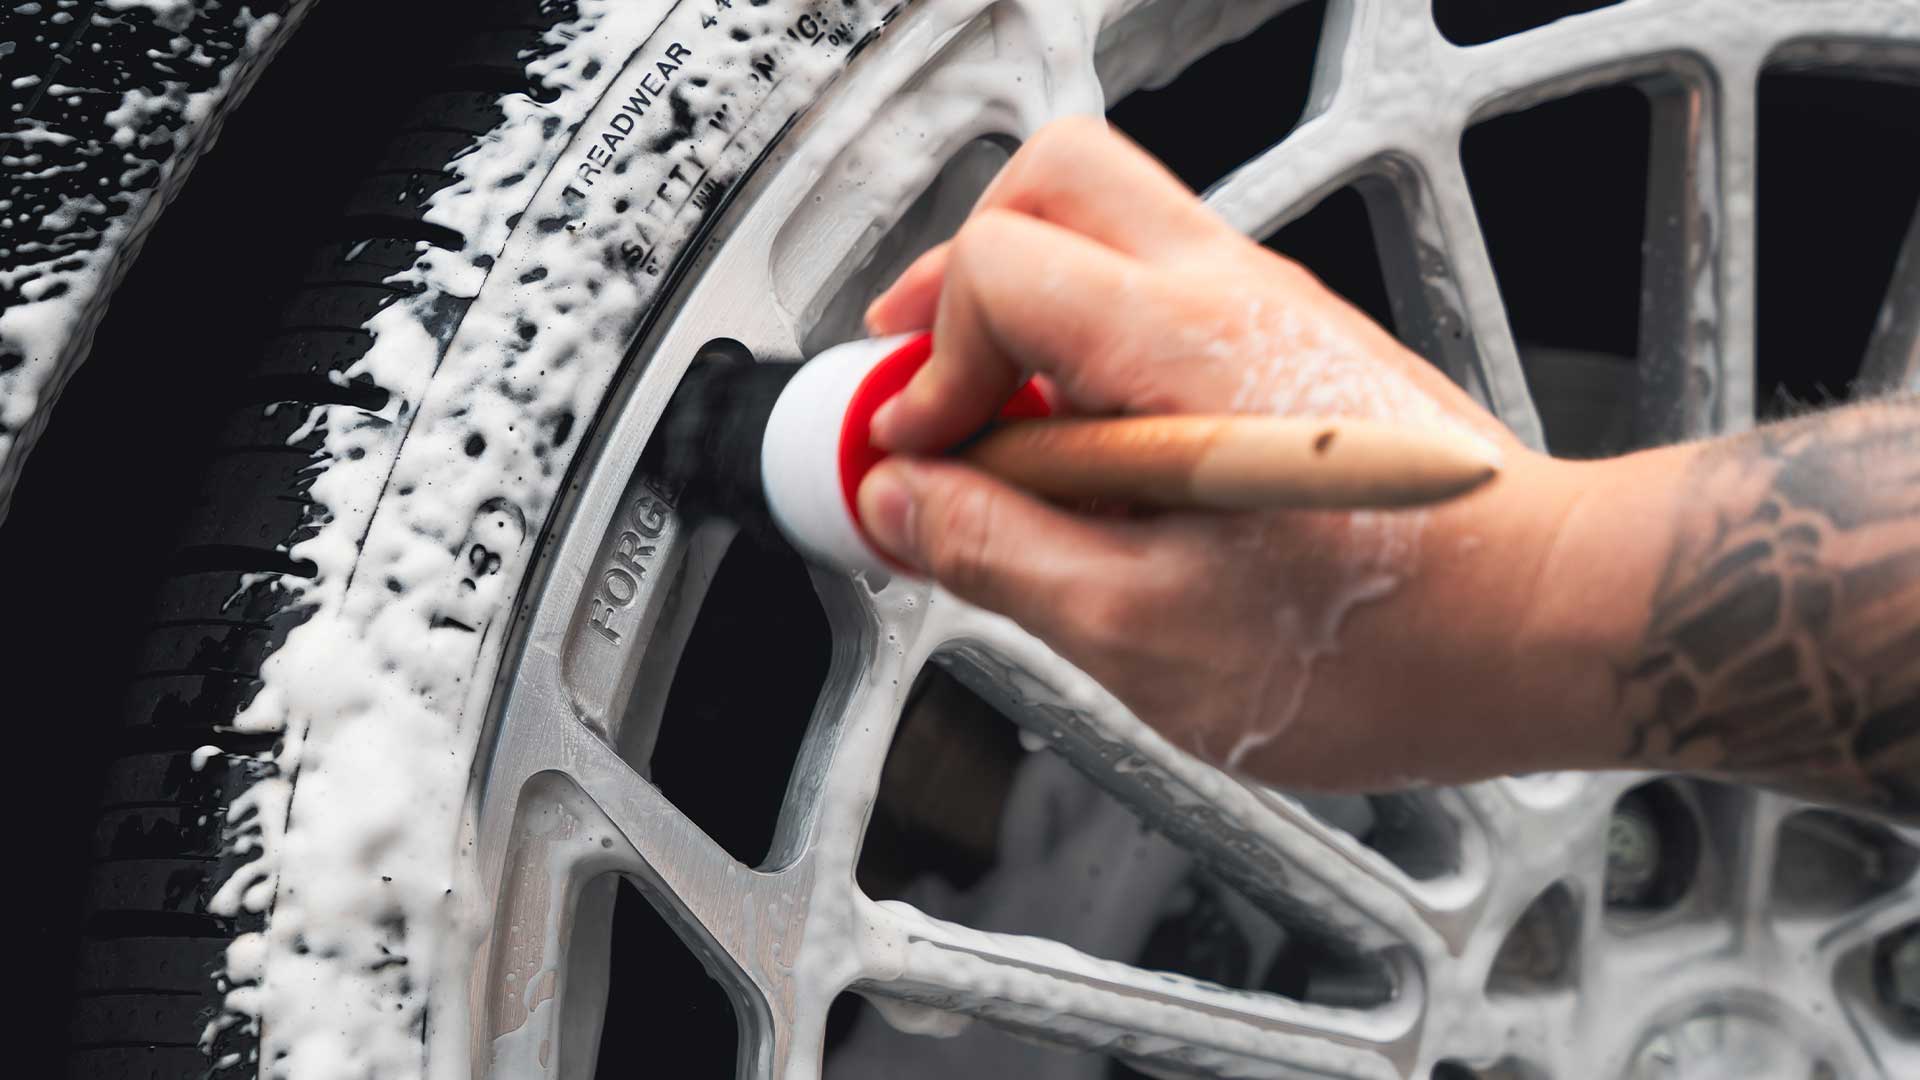
Stage 1: Wheels & Tires
Always start with cleaning the wheels and tires first. We can’t stress this enough. The wheels and tires are typically the filthiest areas of a car, so it requires a good bit of attention. Depending on how dirty the wheels are, you typically want to start off with a healthy amount of iron remover to eliminate any iron particles, fallout and brake dust.
After that, proceed as usual with a quality wheel and tire cleaner. Remember to hit the barrels of the wheels, and do not reuse the towels you used to clean the wheels and tires on the vehicle’s paint.
Learn more about how to properly clean wheels and tires.
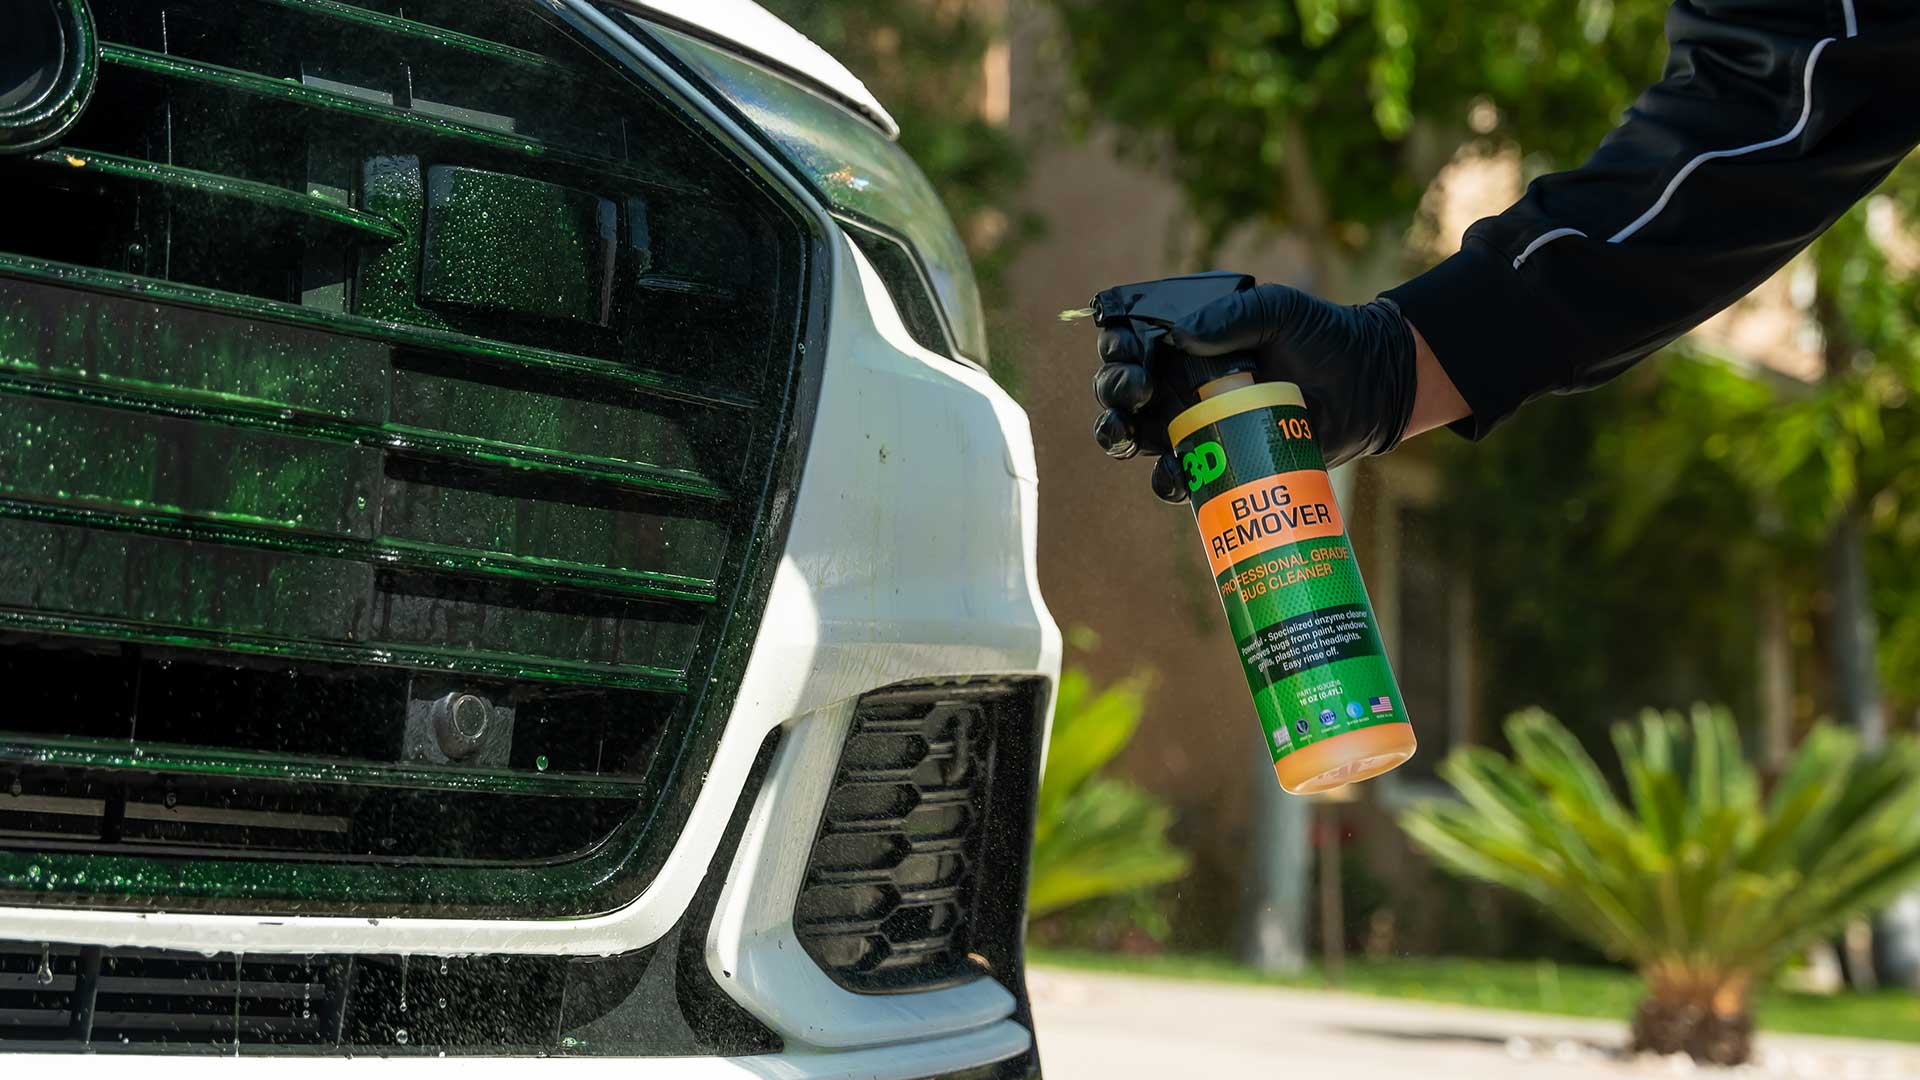
Stage 2: Pre-Wash
This step is often overlooked, and is why your car ends up with unsightly swirl marks and scratches, especially if the car is heavily soiled. When it comes to detailing, the pre-wash should never be skipped. A pre-wash effectively removes excess dirt, grime and dust from the paint without actually wiping the car down. So how exactly is this done? If the vehicle has bug splatter, bird droppings, tree sap, etc, then you want to clean that up first. This can be done by using a bug remover spray or a solid all-purpose cleaner.
Once that’s done, you want to foam up the entire car as if you’re going to do a contact wash, except this time you’re going to just let the soapy foam dwell and work its magic. Ideally, you want to use a pH-neutral car wash soap. After some dwell time, simply rinse the car off with water. This will lift away all the dirt and grime off with the need of using a mitt on the car.
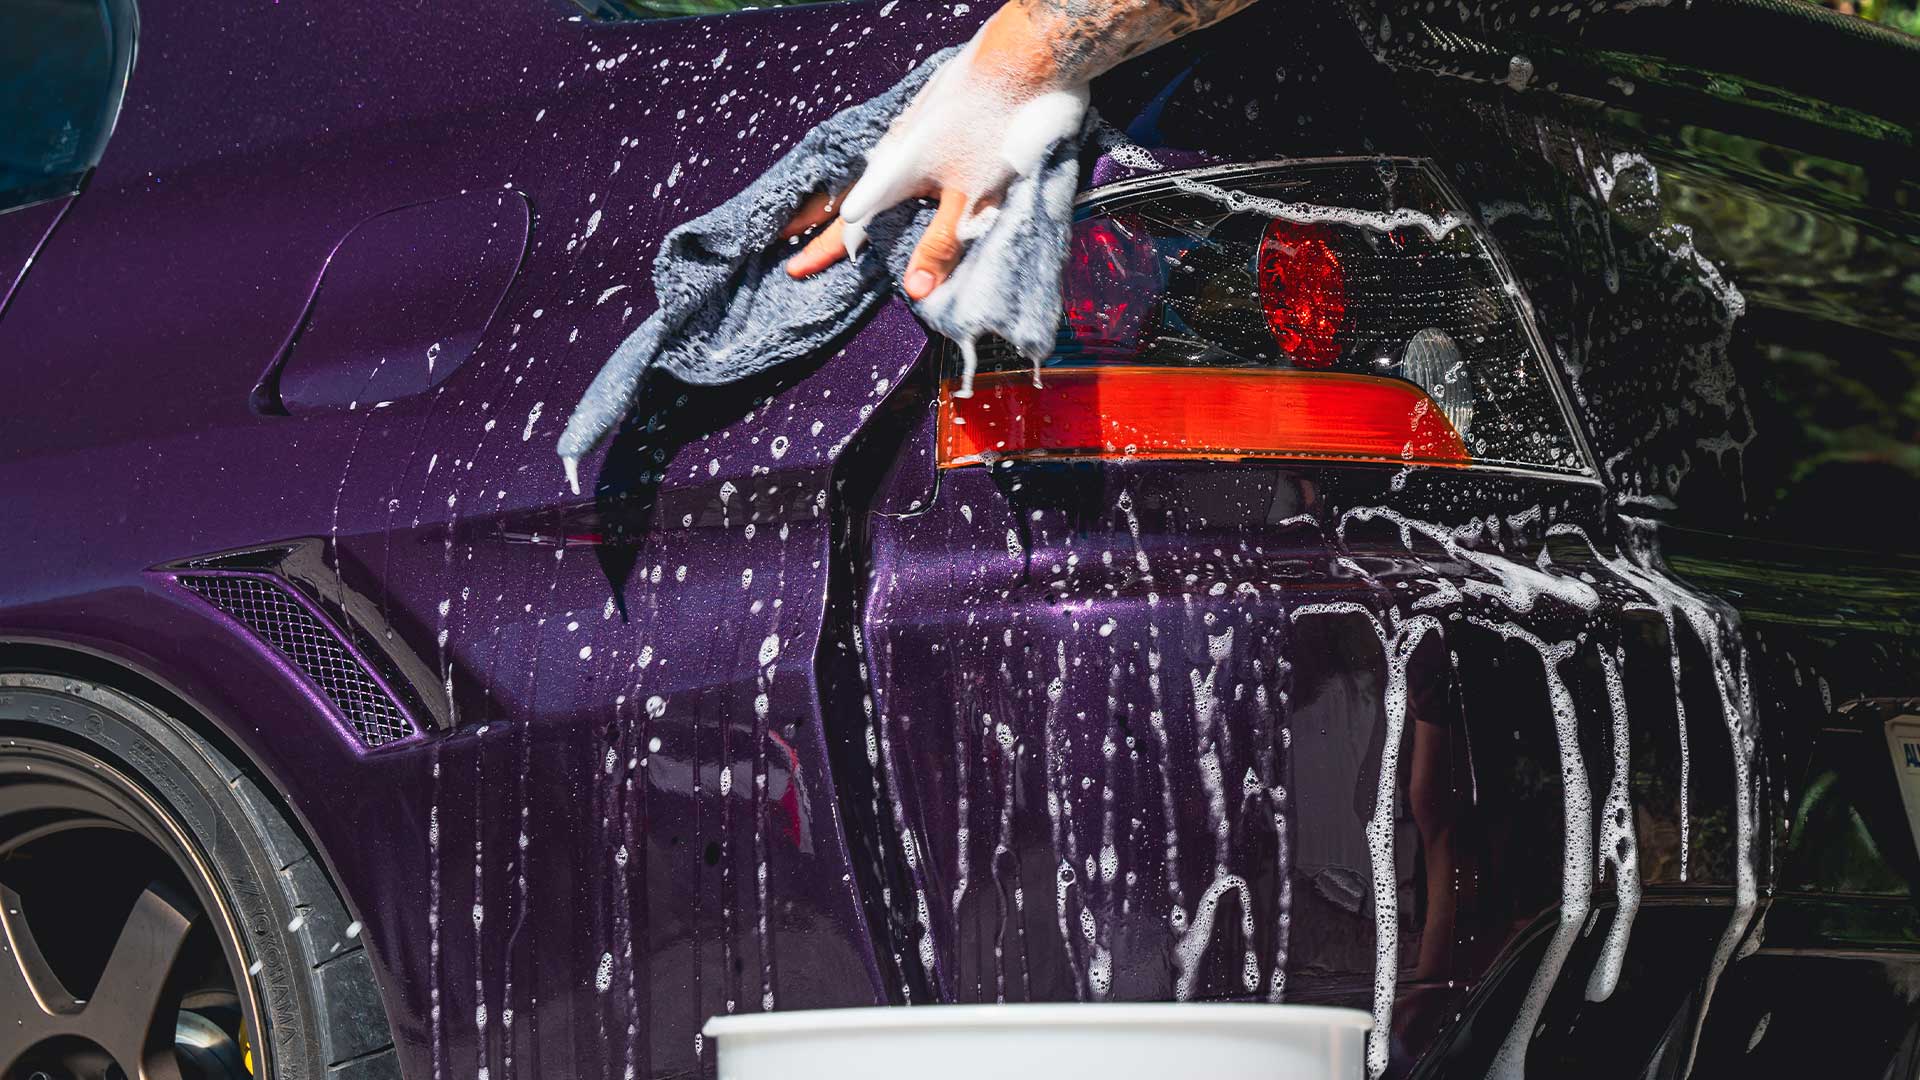
Stage 3: Contact Wash
You’re probably wondering how it’s step 3 and we still haven’t physically touched the paint yet. Don’t worry, it’s worth it. Once all the excess dirt has been rinsed off the car, it’s time to actually put mitt to paint.
Again, using a pH-neutral car wash soap, foam up the entire car again. Using a premium microfiber wash mitt, start wiping down the entirety of the vehicle. Remember, start at the top and work your way down. We suggest using the two-bucket method as it prevents cross-contamination. Once cleaned, rinse the car off with water and thoroughly dry it using a microfiber drying towel.
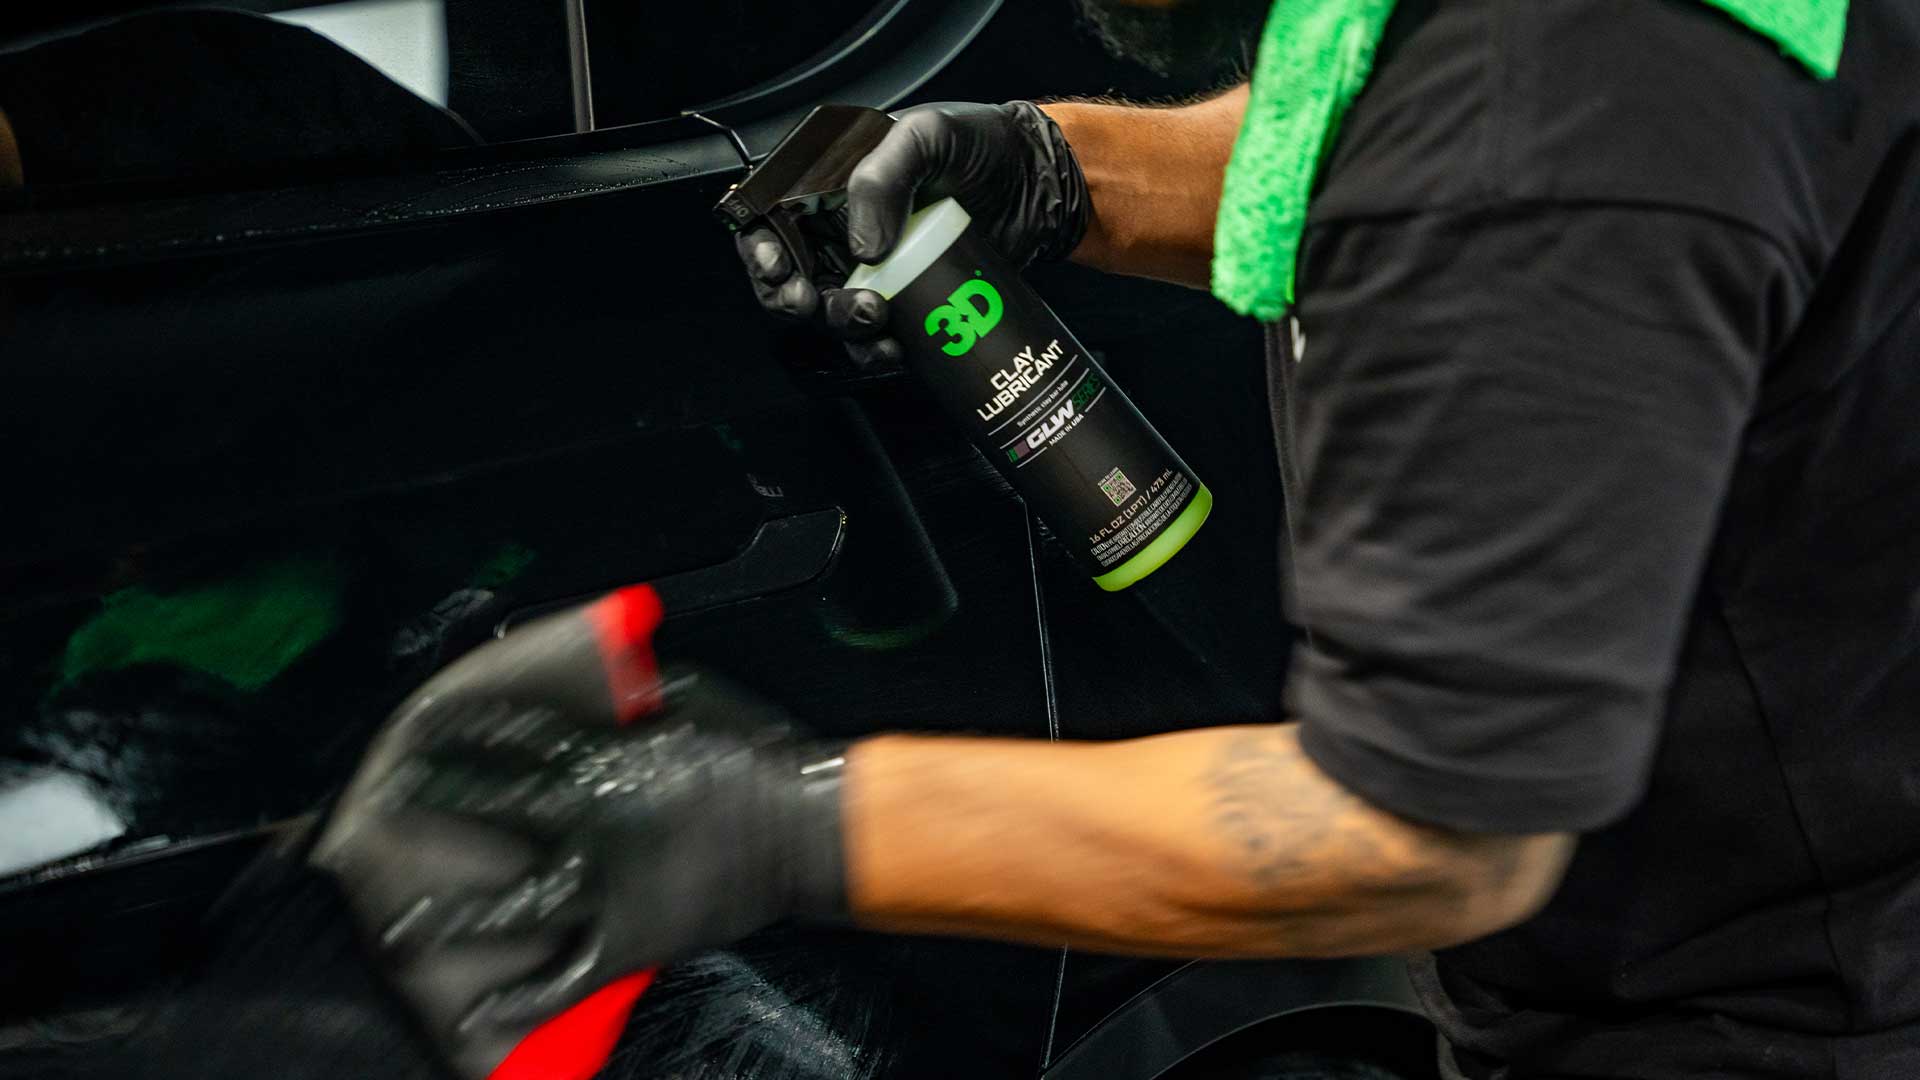
Stage 4: Paint Decontamination
Now depending on the condition of the vehicle, this step may or may not be optional. If the paint is in an awesome condition with no iron, fallout or rail dust buildup, or hard water spots, then it’s safe to move on to Stage 5.
If there is paint decontamination, it’s important to get rid of it completely. This usually involves using an iron remover first, followed by claying with a dedicated clay lubricant. If you also have hard water spots that the claying process didn’t remove, use a dedicated water spot remover.
It’s important to note that this step requires you to rewash the vehicle. Learn more about how to decontaminate car paint.
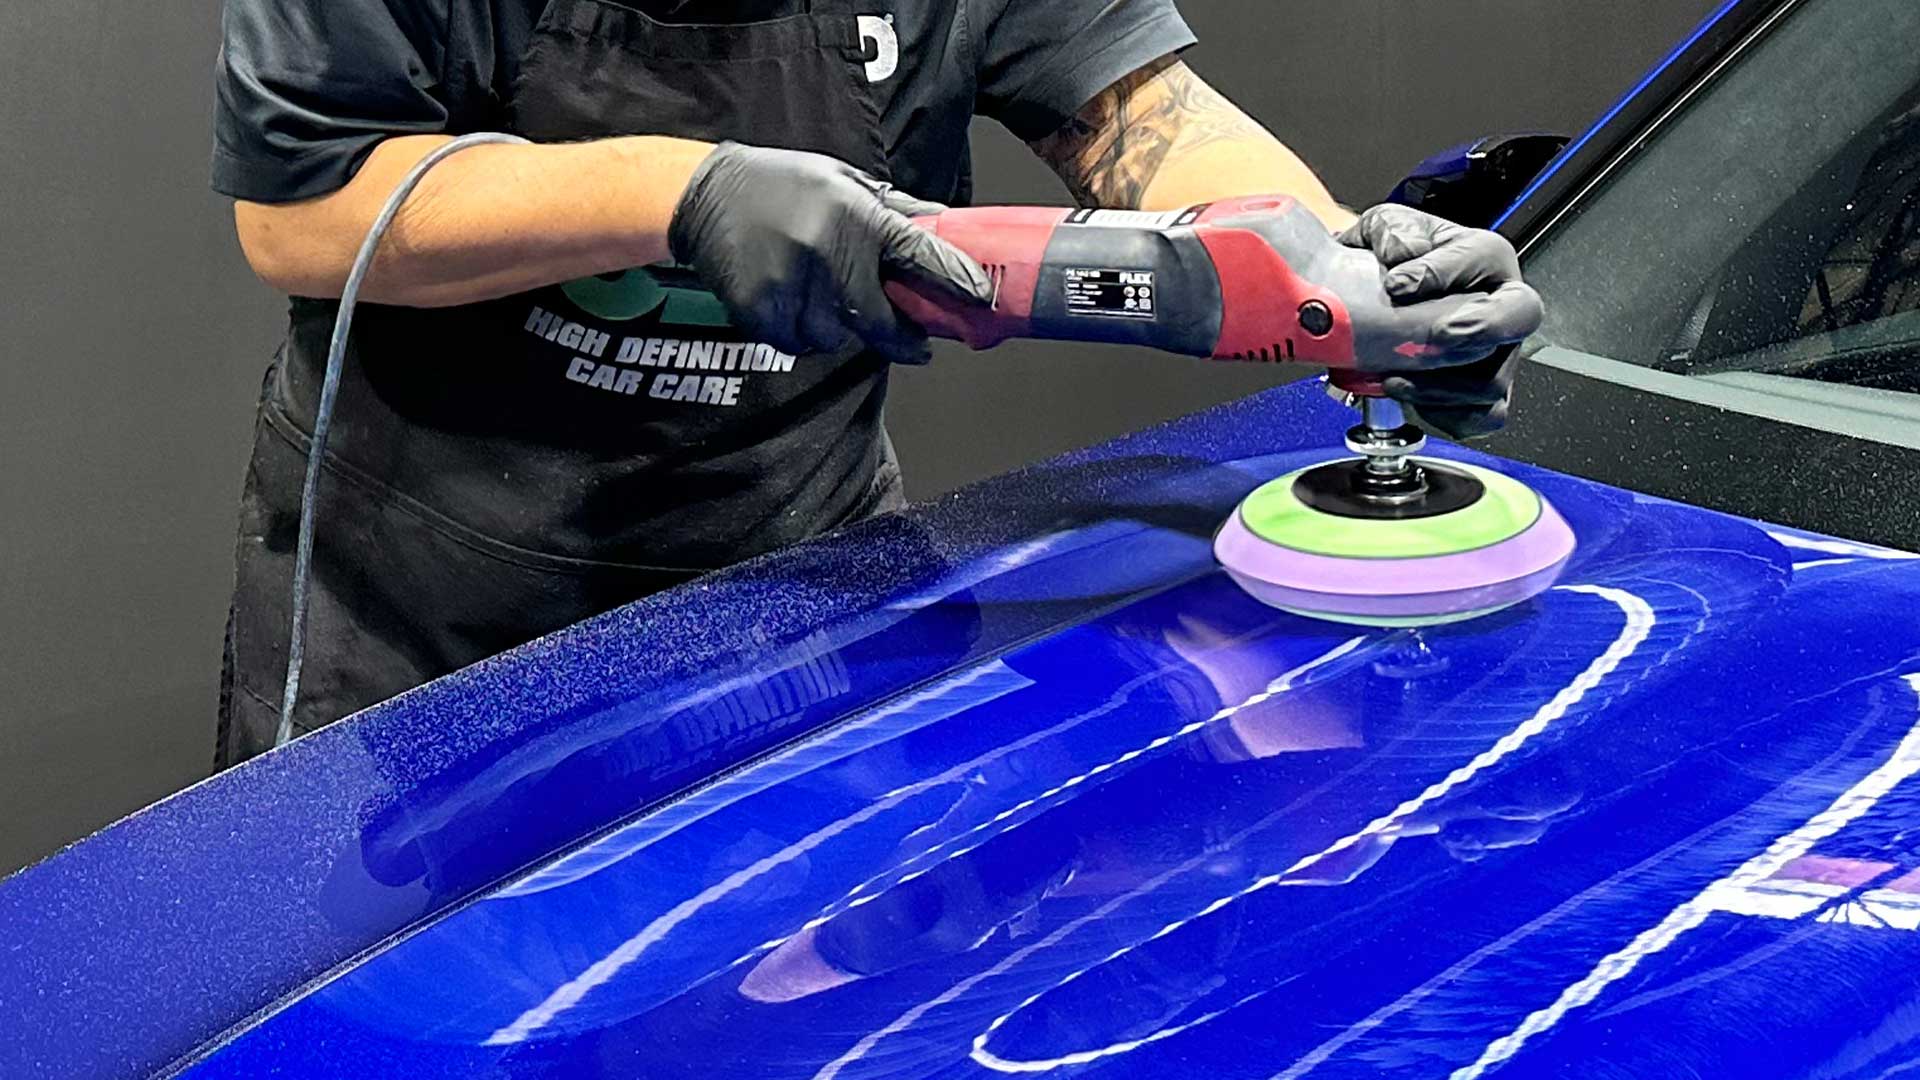
Stage 5: Paint Correction
At this stage, the car’s paint is fully stripped and prepped for any paint correction that may be required. The same logic applies here; if the paint is in good condition with minimal scratches, swirls or holograms, it’s fine to move to Stage 6. If the paint has visible imperfections, the best thing to do is to correct it.
That said, if you are new to detailing, we strongly advise against using a machine, such as a rotary polisher. Because machine polishers generate a lot of heat, inexperienced users can eat through the clear coat or paint and cause irreversible damage. However, if you do plan on using a machine, be sure to use the proper compound for the job. In most cases, a single-step solution will work wonders, like 3D ONE. The second option would be to correct the paint by hand, which can be tedious. This technique also benefits from a single-step compound. Focus on one panel at a time.
Equally as important is using the correct pad for the job. Be sure to use a cutting pad, polishing pad, and finishing pad in the correct order.
Learn more about how to choose the right polishing pad.
Stage 6: Paint Protection
After you’ve removed swirls, scratches or holograms and cleaned up residual dust from polishing, it’s time to protect the paint work from UV rays and the environmental elements. This is where you have a wide variety of options. The idea of this stage is to protect the paint from future dust, grime, UV rays and other environmental factors, like bug splatter and bird droppings. Although this doesn’t prevent these things, it makes clean up and maintenance washing much easier. You can use traditional car wax, ceramic-infused wax, ceramic coating, or even a ceramic-infused quick detailer.
Each of these solutions have their own benefits and vary in experience required and cost effectiveness. For example, ceramic coating is more expensive and difficult to apply properly versus a traditional car wax. So, if you’re new to detailing, maybe pass on the ceramic coating route and opt for wax, or use a ceramic-infused product instead.
Learn more about how to wax your car and how to wash and maintain ceramic coated car.

Stage 7: Tires & Trim
At this stage, the car has been deep-cleaned and protected. It’s a good time to add dressing to tires and plastic trim to give them a deep-black look. For tires, you can go with a classic tire shine, or something with an extra layer of protection. 3D has two ceramic options, available in a matte finish or glossy finish.
When it comes to trim, you can either use a traditional trim restore, or a ceramic-infused trim restore, with all the benefits of the classic option, with an added layer of protection. Both of these products will bring black plastic trim pieces back to life with a deep-black shine.
Learn more about how to restore plastic trim.

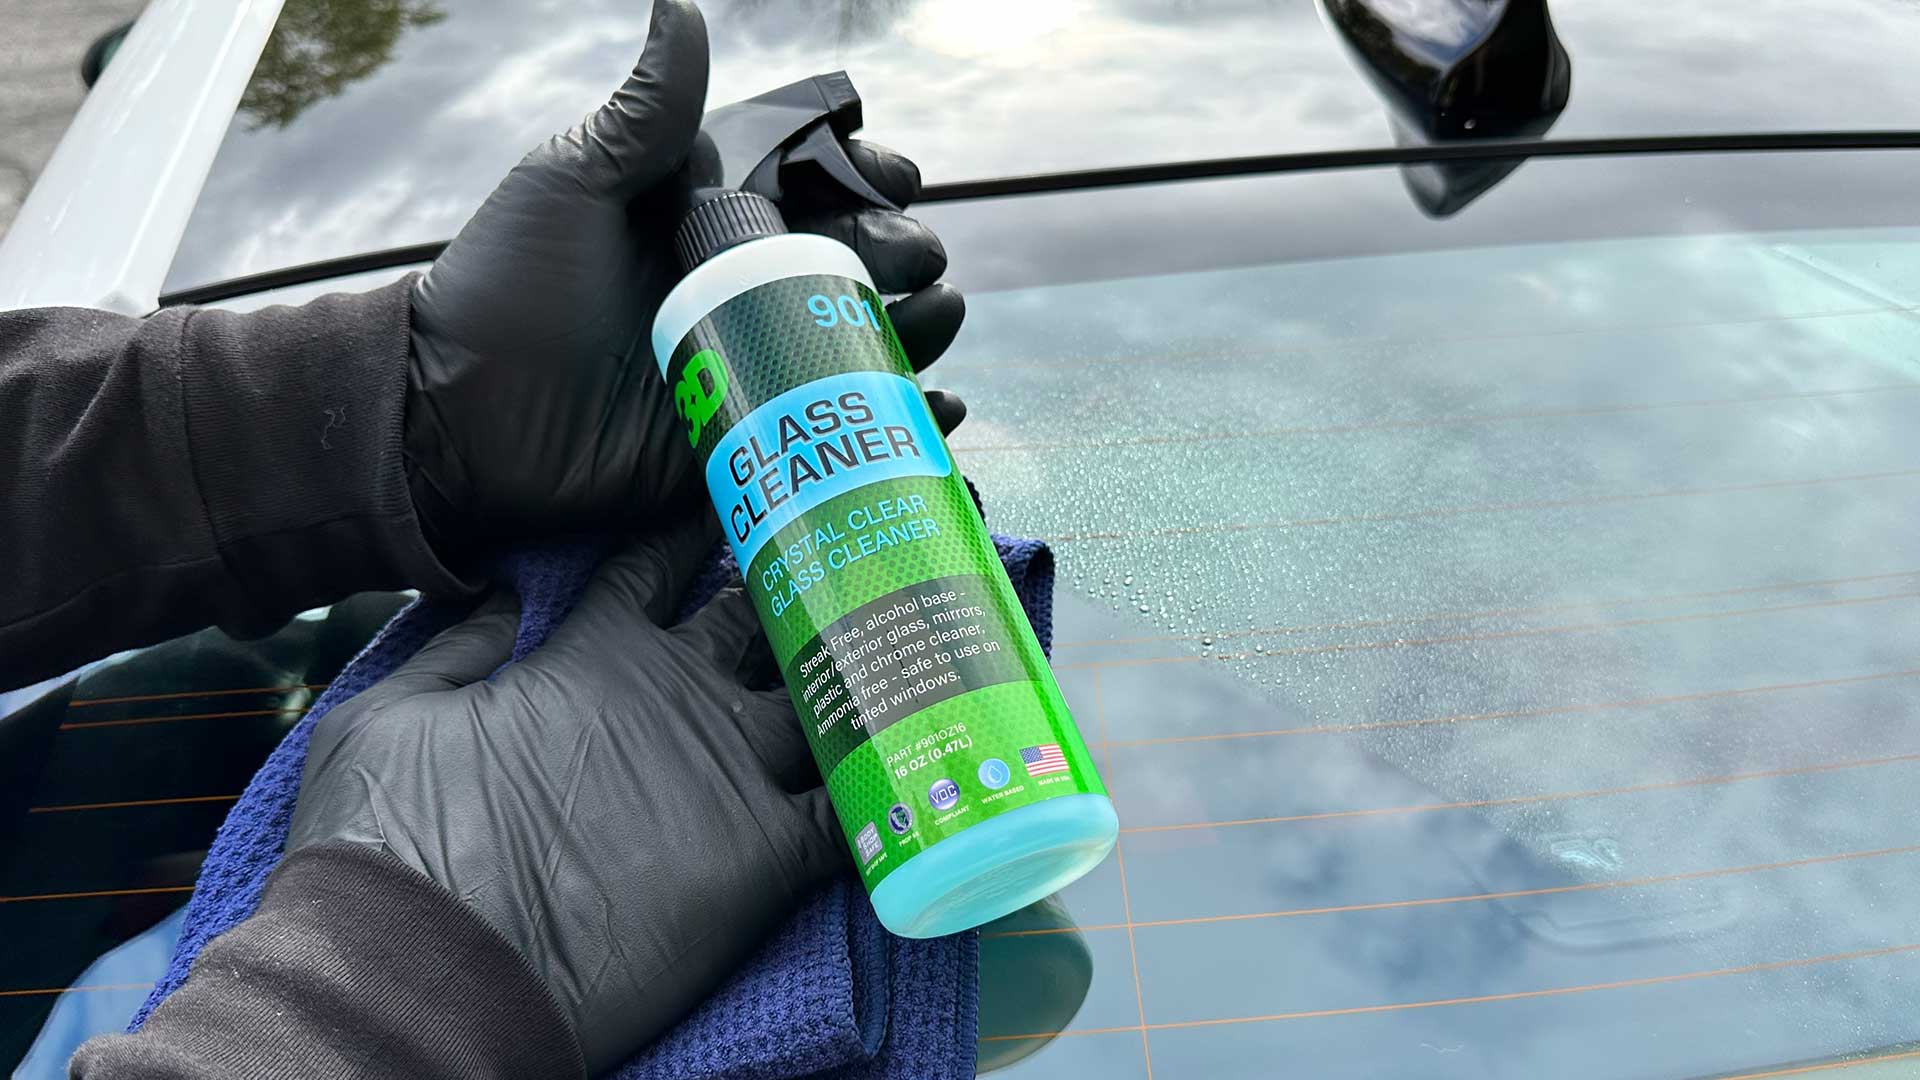
Stage 8: Glass
Are we done yet!? Think again. Although the car was washed, the glass and windows still need some extra TLC. Use a dedicated glass cleaner, or if you want to crystal-clear glass and windows, use a ceramic-infused glass cleaner with hydrophobic properties.
Learn more about how to clean glass like a pro.
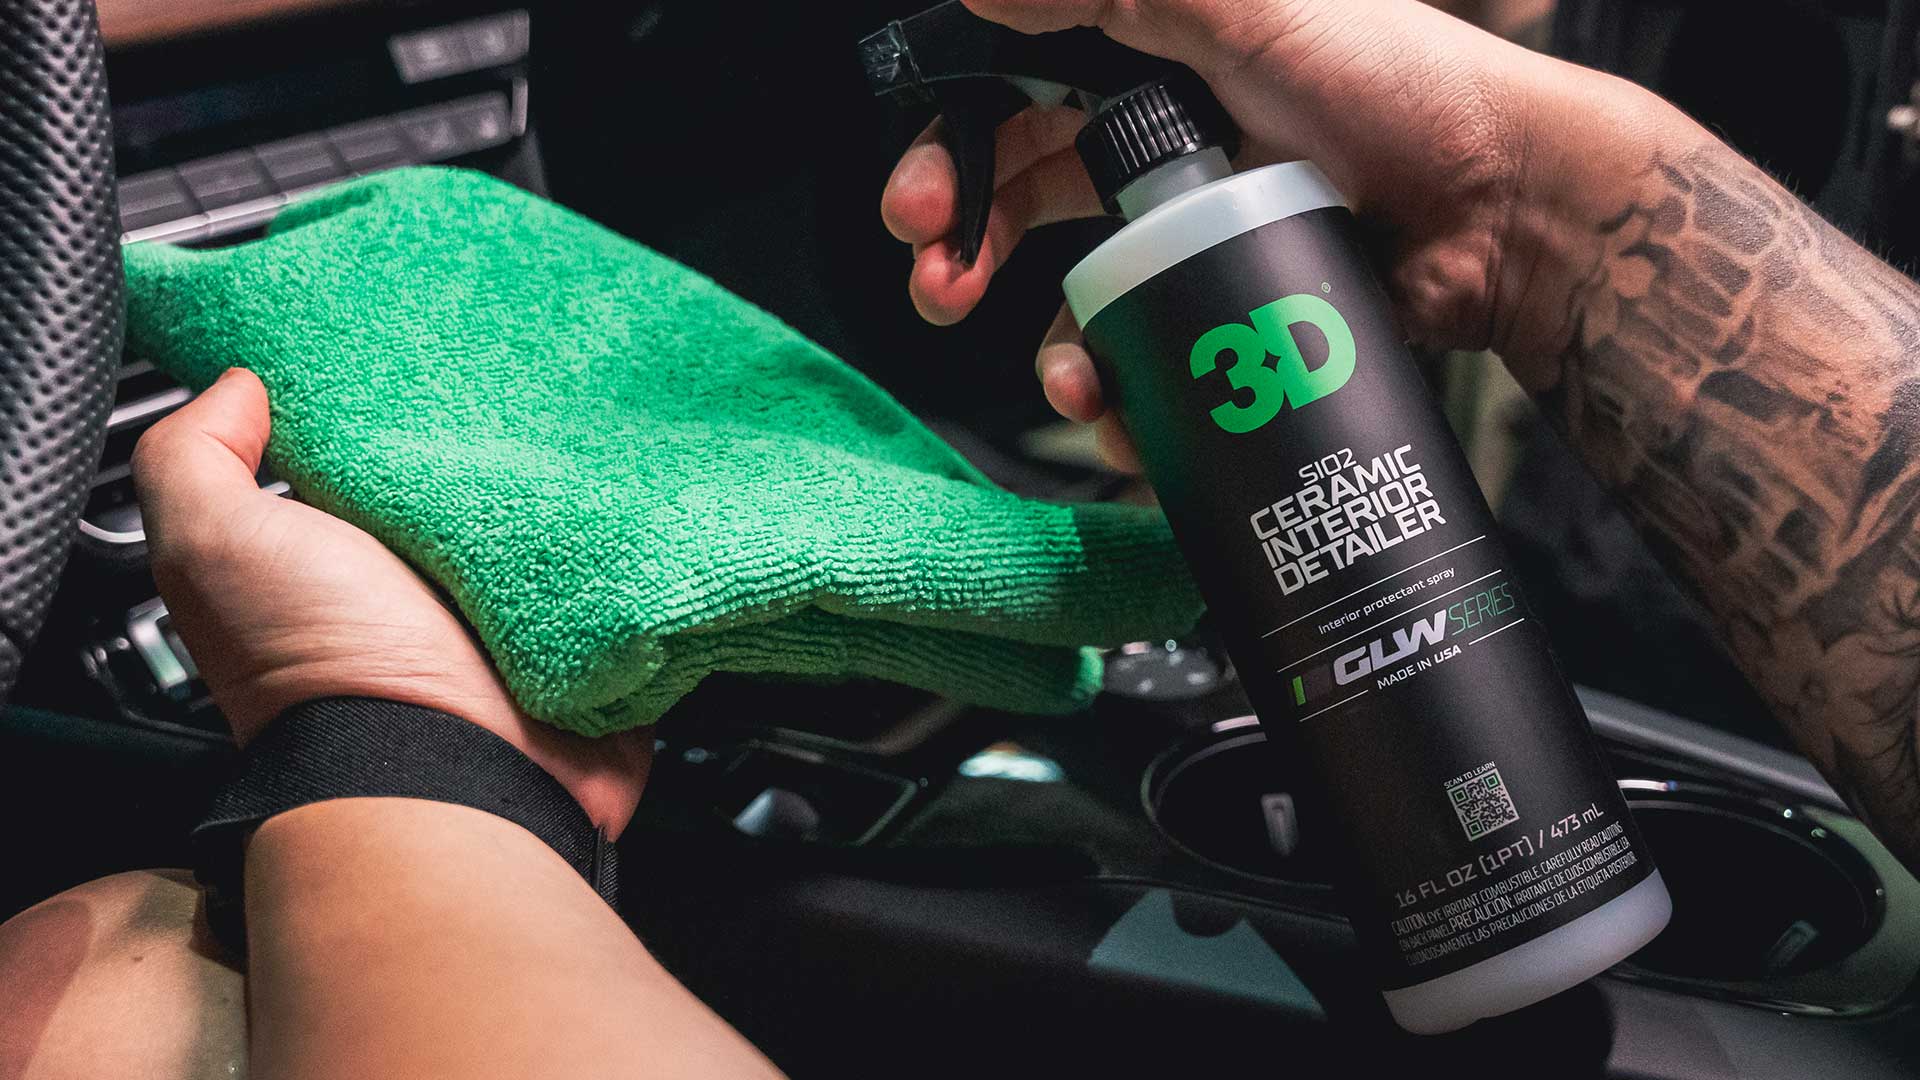
Stage 9: Interior & Finishing Touches
The ninth and final stage is to tackle the interior and add some finishing touches. Depending on the condition of the vehicle’s interior, you may have to use a dedicated leather cleaner and leather conditioner or carpet and upholstery cleaner. If it’s in pretty good shape, a quick dusting with an interior detailer and vacuum will be sufficient. Finish up the interior with a few sprays of an odor eliminator and air freshener, and you are golden.
As for tidying up and the finishing touches, it’s a good idea to do a walk around and see if any spots were missed during the previous 8 steps. For this, simply use a quick detail spray or an all-purpose cleaner to clean up any residual dust or fingerprints.
Learn more about how to clean your car interior and how to clean leather seats.
SHARE: