
How to Wax Your Car: Step-By-Step Guide
Looking to achieve that showroom shine on your car while ensuring durability, protection and longevity? Waxing your car is an essential part of car maintenance, whether you drive a supercar, classic car, or just a daily commuter. It may seem like a daunting task at first, but applying wax to your car is actually simple and rewarding. In this article, we will provide you with an easy to understand, step-by-step guide on how to wax your car properly. We will cover everything from preparation, application, removal, and shed some light on how to maintain a waxed car.
How to Wax Your Car
Before starting, gather all of the tools, supplies and products needed to tackle the project. You will want to have plenty of fresh microfiber towels on hand, foam applicator pads, your usual car washing supplies, paint decontamination spray or clay bar, and of course, car wax.
Step 1: Preparation
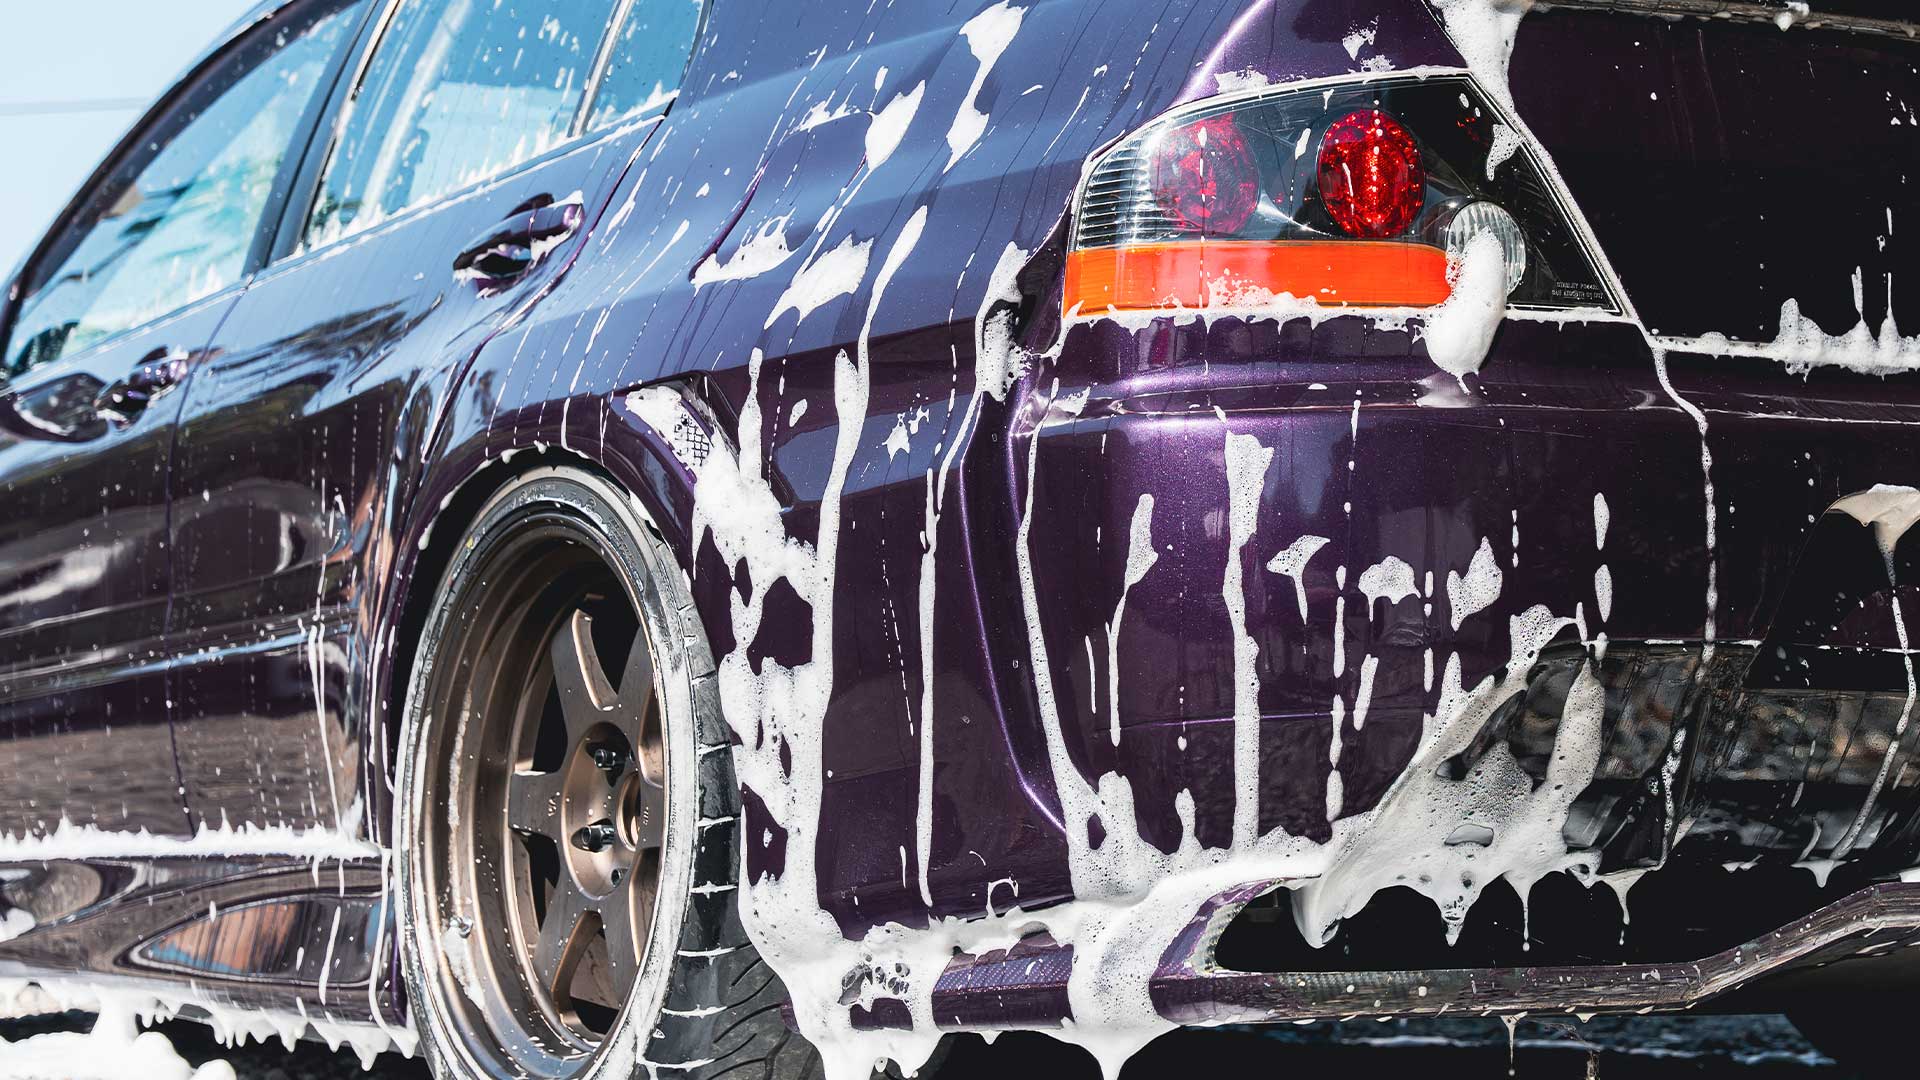
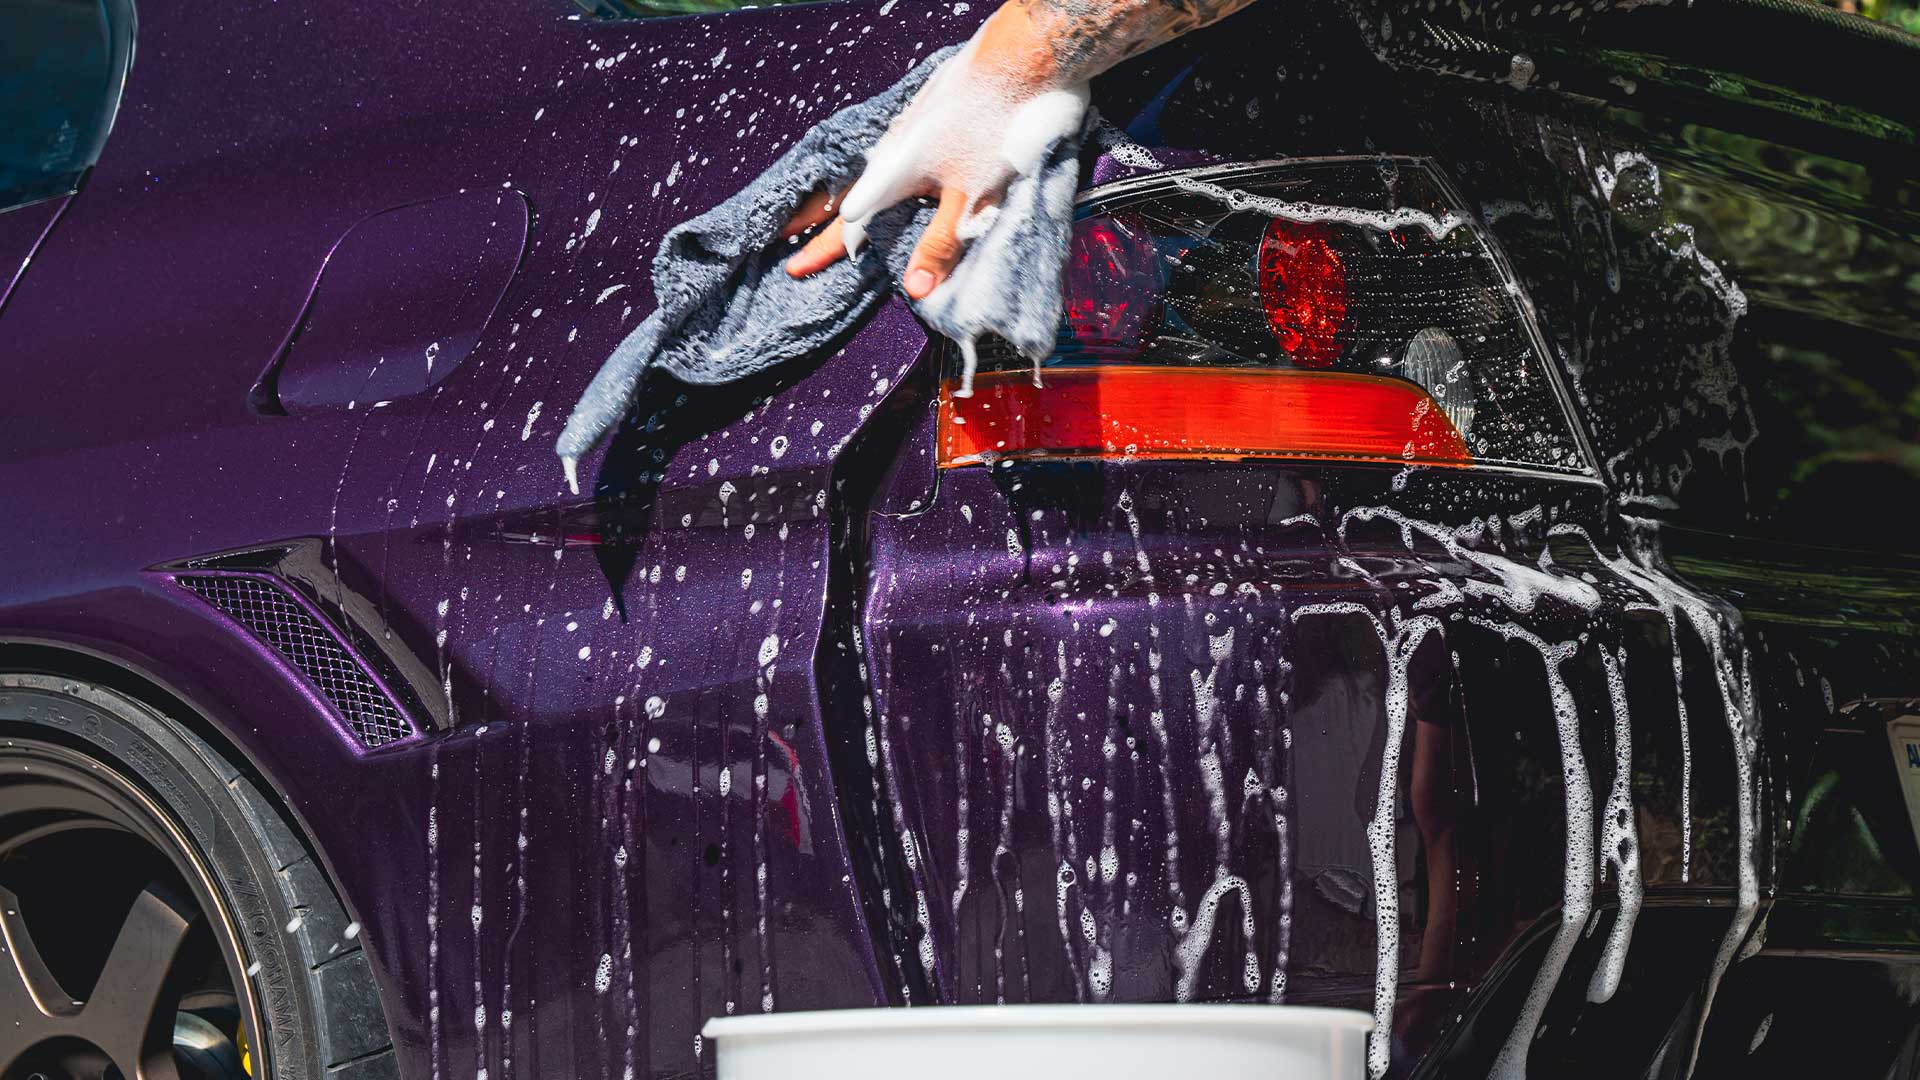
The first step is to prepare the car for wax application. The car’s surface needs to be free of dirt, grime and debris to ensure a lasting bond with the paint. Wash your car thoroughly as you normally would using a pH-neutral car wash soap. Use plenty of clean water to get rid of all the residual soap. Once the car is rinsed off completely, dry the car using a quality microfiber drying towel.
Pro-Tip: Start with the wheels and tires first, then move to the car itself, starting from top to bottom.
Related: The Ultimate Wheel & Tire Cleaning Guide
Step 2: Decontamination
Once the car has been washed and dried properly, the next step is to determine whether or not the paint is ready for application of wax. To do this, run your fingers on the paint’s surface. If it’s smooth like glass, then you can move on to Step 3. However, if the surface isn’t smooth and feels rough, you may want to consider performing a paint decontamination before applying car wax.
To decontaminate the car’s paint, start by using an iron and fallout remover spray. Again, inspect the condition of the paint by using the same method as before. If you are still not happy with the results, you can use a more in-depth decon process using a clay bar or clay towel with clay lubricant.
In the end, if you are happy with how the car’s paint looks and feels, then it’s a good time to move on to the next step.
Related: The Ultimate Step-By-Step Paint Decon Guide

Step 3: Re-Washing
If you decontaminated the car following the above method, then we strongly suggest giving your car another wash to remove any residual chemicals the iron remover spray and clay lubricant may have left behind.
The washing process doesn't have to be as thorough as the first time, as the car is already clean. The goal here is to ensure there are no remnants of chemicals or soap on the car’s surface. Again, ensure the car is fully dried.
Pro-Tip: Avoid washing under direct sunlight, as the sun can accelerate the drying process, which can leave unsightly water marks and create more work.
Step 4: Application
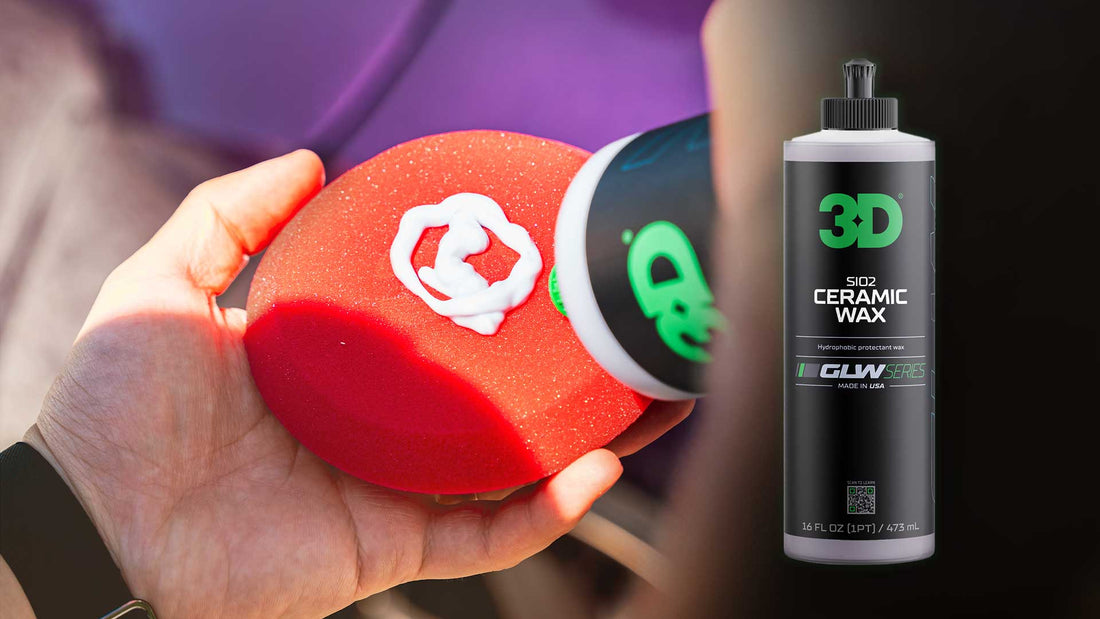
The final step is to apply the car wax. Using a fresh, round foam applicator pad, squeeze the wax on the face of the pad. Use an overlapping circular motion when applying the wax, and cover an entire panel or section of a panel. Repeat this process on all the car’s panels. The goal is to create a uniform layer of wax.
Once the whole car is covered in wax, allow the wax to dry to a haze. The curing process typically takes 10 to 15 minutes. To check if the wax is ready to be removed, swipe your finger across a small section. If it leaves a powdery residue on your finger, it’s ready for removal. Once cured, use a fresh microfiber towel to gently remove the wax. Don’t apply too much pressure and let the towel do all the work.
This step can be done either by hand, or with an orbital polisher. Although using a polisher is faster, some cars have aggressive crevices and lines that may be hard to fully cover. In most cases, both the polisher and hand application are equally effective.
Pro-Tip: Work on one panel at a time. If the wax you are using wipes off easily, it is perfectly safe to wax the entirety of the car, then wipe away the wax haze. If not, focus on completing one panel entirely before moving on to another panel. Additionally, use a fresh section of your microfiber towel to remove the wax. Do not reuse a dirty microfiber towel.

How to Maintain a Waxed Car
A freshly waxed car looks great with its deep, wet shine. But how do you maintain your waxed car and keep the wax performing as it should?
Regular Washing: Regular washing is essential to keep your car clean and free from dirt and grime. Use a pH-neutral car wash soap or an SiO2 ceramic infused car wash soap to avoid stripping the wax. Always use separate buckets and tools to wash the wheels and paintwork to avoid cross-contamination and scratches.
Toppers: To extend the life of your wax and add additional protection, use an SiO2 infused ceramic detailer. This will not only add an extra layer of protection, but works great as a topper or booster. With its hydrophobic properties, future washes and maintenance is simple.
How Often Should You Wax Your Car?
How often you should wax your car depends on various factors such as the type of wax you use, the weather conditions, and how often you drive your car. Here are some quick tips:
- Natural Wax: Natural wax, such as carnauba wax, lasts about 2 to 3 months before it needs to be reapplied.
- Synthetic Wax: Synthetic wax is made from emulsifications of protective synthetic polymers, and provides the best protection. This type of wax lasts up to 6 months.
- Ceramic Wax: Ceramic wax falls into the synthetic category, however it is infused with SiO2 properties. If applied and cared for properly, ceramic waxes can last up to 12 months.
That said, the expert detailers at 3D Car Care suggest waxing your car at least twice a year for the best results.
The Best Ceramic Wax for Your Car
There is a wide variety of car waxes on the market, and finding the right one can be an overwhelming process. The search for the best car wax is over. With the introduction of our latest GLW Series lineup, we have launched a ceramic wax product with proven results and ultimate protection.
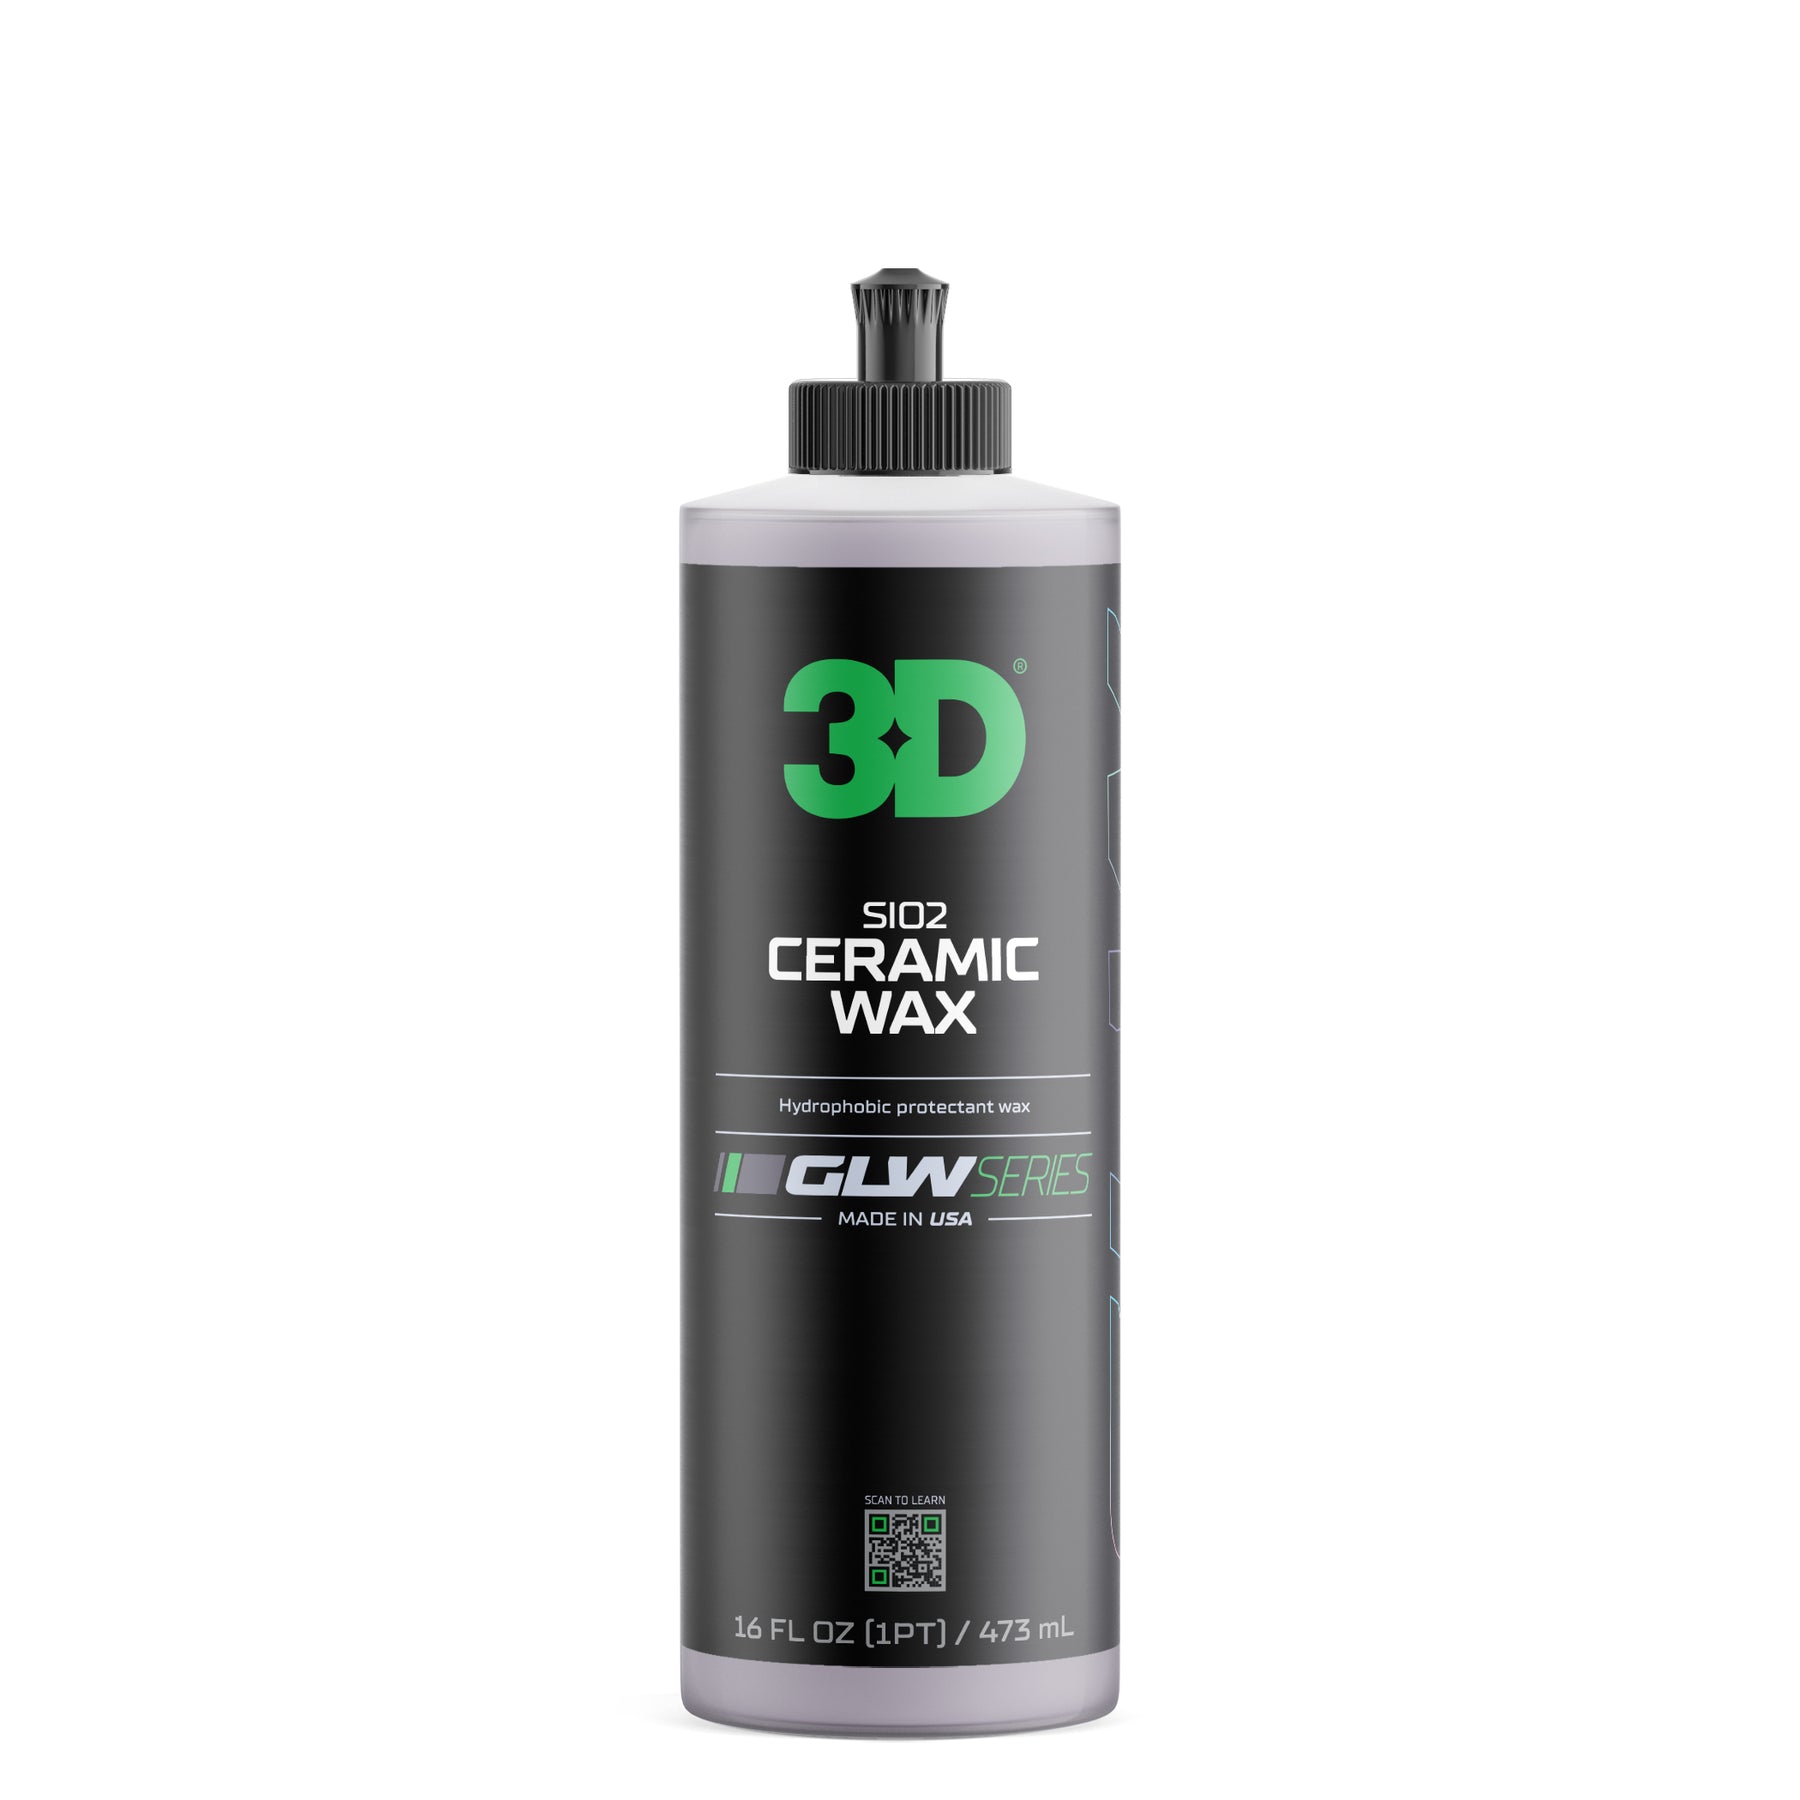
The 3D GLW Series SiO2 Ceramic Wax is the future of car care designed for long-lasting protection, a deep wet shine, and all the properties you have come to expect from ceramic infused products.
Our ceramic car wax isn't ordinary wax; it’s a barrier against the elements, rain, water spots, dirt, road grime, contaminants and more. With 3D GLW Series SiO2 Ceramic Wax, you’re not just waxing; you’re safeguarding your car’s paint and clear coat with an ultra-slick gloss finish and peak hydrophobic protection.
Effortless Products. Incredible Results. Undeniable Glow.
3D GLW Series SiO2 Ceramic Wax
Step into the future of car care with the 3D GLW Series Ceramic Wax, a game-changing product designed to redefine your car's appearance and protection. This wax offers more than just a shine; it provides an effortless and ultra-slick application, instantly transforming your vehicle into a hyper-glossy masterpiece.
View Product