
New Car? Here’s What You Need to Know.
So you’ve spent all day at the dealership, and the salesman finally hands you the keys to your brand new car. Good to go, right? Unfortunately not. Although the car is new with zero miles on the clock, it isn’t perfect. Contrary to popular belief, you don’t need to be a car nut to prep and protect your new car. You did spend a pretty penny on it, so why not protect your investment?
It's essential to be well-prepared and take the necessary steps to protect your investment. In this article, we'll explore some valuable tips and tricks to help you prep and safeguard your new car. Let's dive in and discover what you need to know about your new car.
Detailing a Brand New Car
Before you start preparing and protecting your new car, there’s one very important step to take while you’re still at the dealership: DO NOT LET THE DEALER PORTERS TOUCH THE CAR. Before the salesman gives you the keys, dealerships perform what they call a PDI, or Pre-Delivery Inspection. Essentially what this means is that the techs or porters will inspect the car to make sure it’s in a good mechanical condition, and they’ll usually top off the tank for you. That’s not the issue, though. They’ll also “detail” the car for you as a courtesy, however in most cases they end up doing more harm than good. The truth is, the dealership employees who wash the cars aren’t trained detailers and don’t have a full understanding of the do’s and don’ts of prepping and protecting a new car.
With that out of the way, let’s get into what it really takes to properly protect your latest investment the right way.
Exterior Protection
If the dealer washed the car already, don’t worry it just requires a little more effort. If they didn’t, great! Because your car has probably traveled quite a ways, usually by boat, train and truck, it’s likely the car is contaminated. Here’s what to do next:
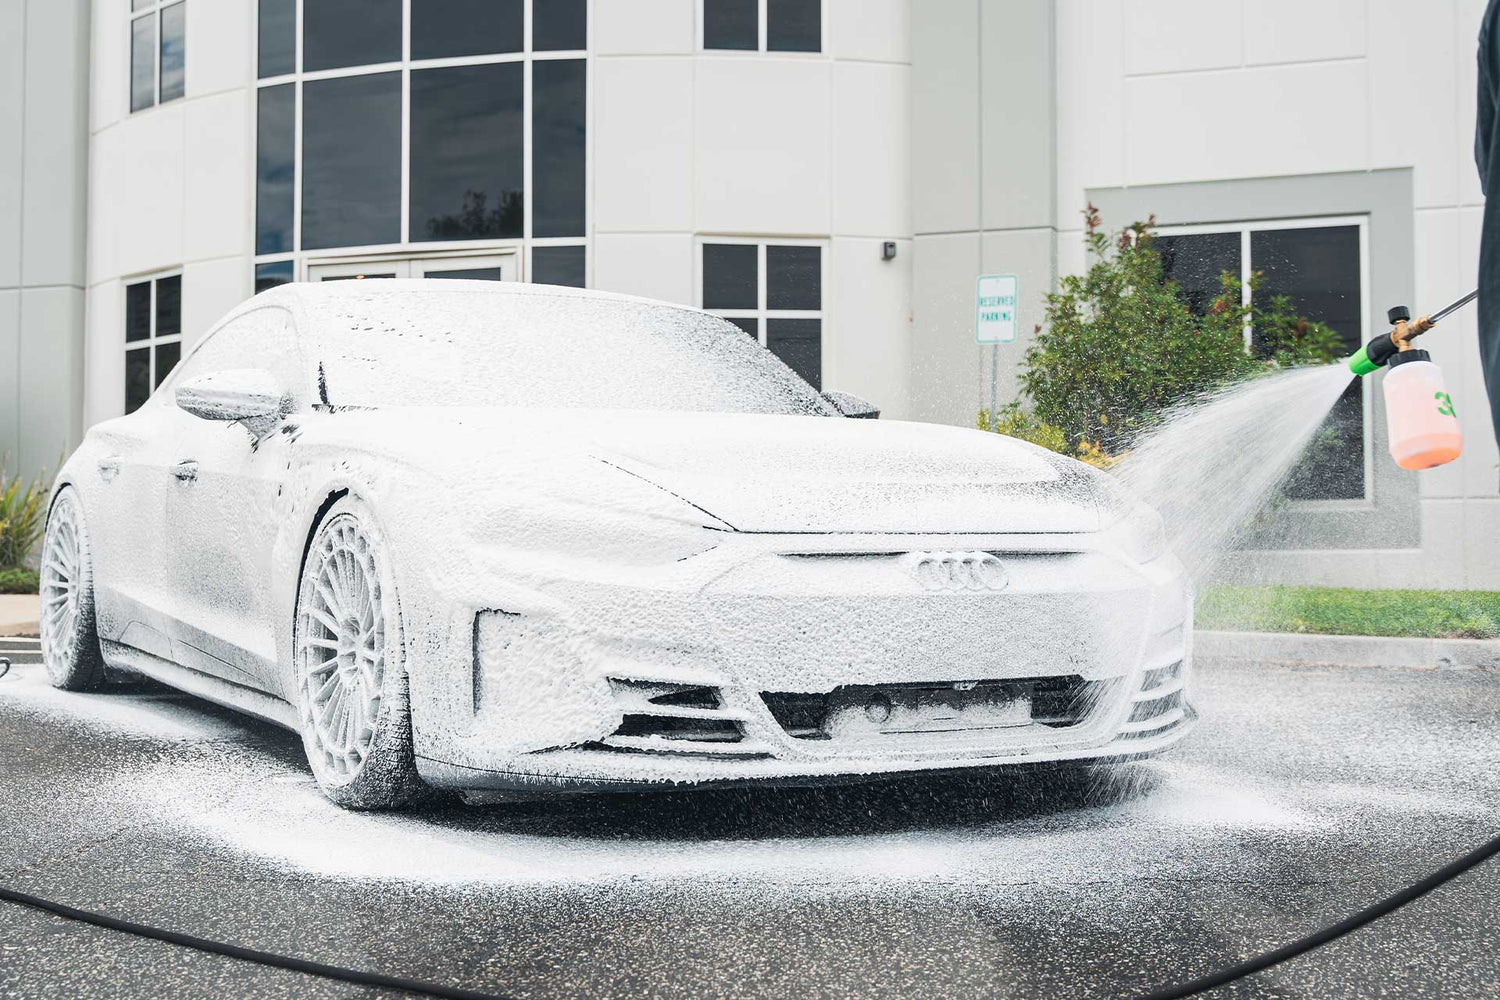
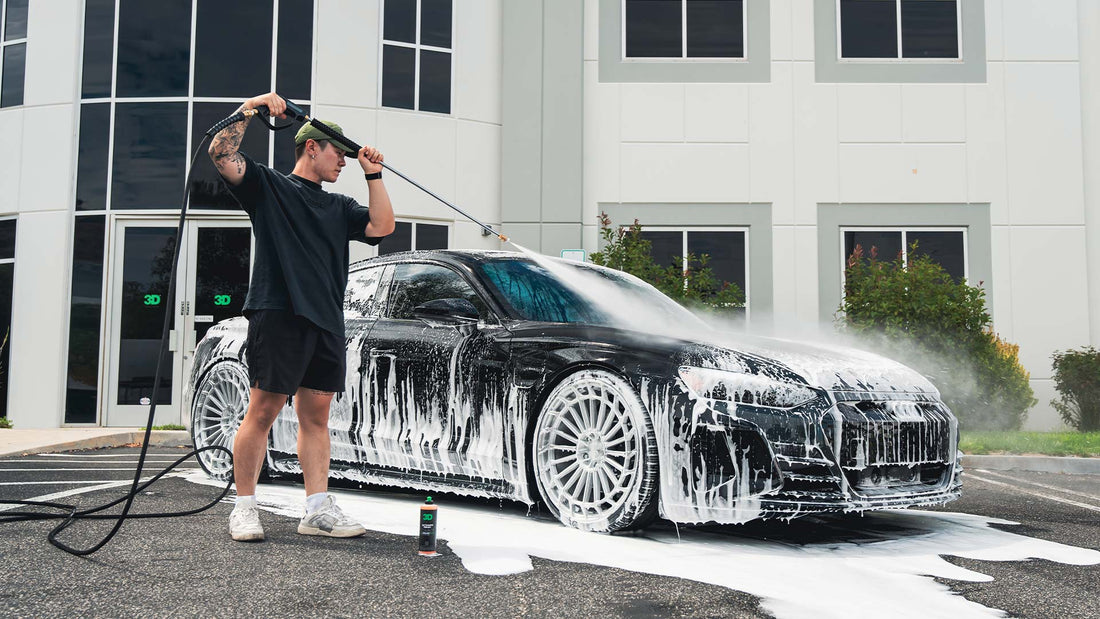
Step 1: Wash the Car
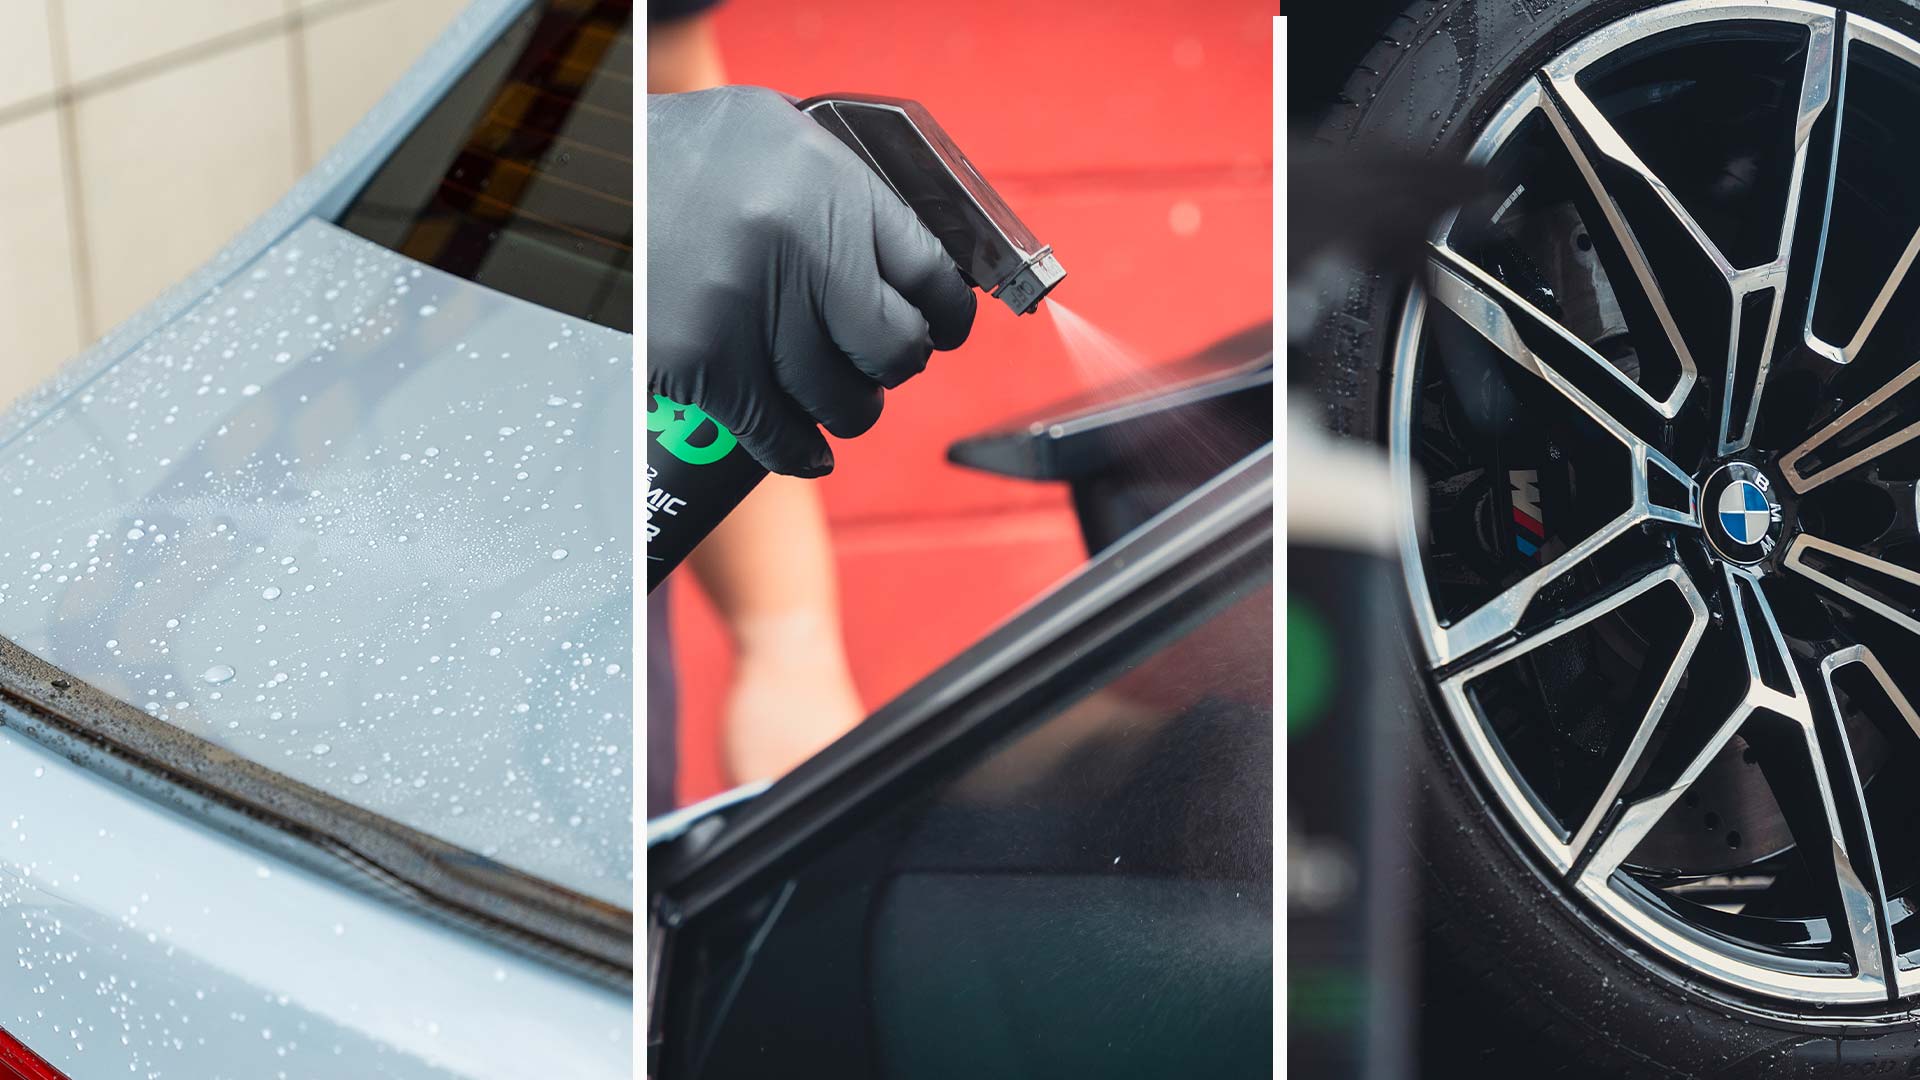
The first thing you want to do is thoroughly wash the entire car, wheels and tires included. Always start with wheels and tires. Use a dedicated wheel and tire cleaner to get your wheels looking new. For the paint, use a pH-neutral car wash soap and a high-quality microfiber car wash mitt to safely clean the surface without creating swirl marks. Once done, thoroughly dry the car in the same manner using a microfiber drying towel.
Pro-Tip: Coat your tires with a SiO2 infused tire dressing to keep them clean longer. If you prefer a matte finish, 3D GLW SiO2 Ceramic Matte Tire does a great job. If you enjoy a glossier look, then 3D GLW SiO2 Ceramic Tire Gloss is the way to go.
Step 2: Decontamination
Because your car has been sitting on a boat, truck or train, it’s likely contaminated. Now is a good time to use an iron remover spray to fully decontaminate the car’s paint and wheels.
This spray will help break down fallout, oxide, iron, and other particles that are sitting on the car’s surface. Neglecting this fallout can cause damage to the paint, especially during seasonal cycles.
Once the vehicle has been decontaminated, re-wash the car and dry it off again to prepare for the next step.
Learn more about how to decontaminate your car paint.
Step 3: Claying (Optional)
Claying your car falls into the decontamination category, however it isn’t always required. If the car’s paint feels smooth to the touch after performing a decontamination with the spray, then you should be good to skip this step.
If the paint still isn’t as smooth as glass, then you’ll want to clay the car. Using a detailing clay bar and clay lubricant spray, slowly prep the paintwork. Use light pressure and work in a crosshatch pattern for the best results. This step is tedious, but necessary.
Again, once this process is done you want to wash the car one more time.
Pro-Tip: Separate the car into sections by working on one body panel at a time, such as the driver side door, driver side front fender, hood, etc.
Step 4: Paint Correction (Optional)
Once the car is fully washed and decontaminated, inspect the car’s current paint condition. You can use either a flashlight or even the sun to check for swirl marks or holograms on its surface. If the car has no swirls, you’re in luck and you can move on to Step 5.
However, if the car does have swirl marks or holograms, it’s up to you to decide if you want to remove them or if you can live with them. This is especially common in darker colored cars, such as black.
If you can’t live with it, then now is when you want to perform a paint correction.
In the car detailing world, there are compounds and polishes. Compounds are more aggressive or powerful in their ability to remove below surface paint defects than polishes. Polishes are less aggressive than compounds. That said, if you’re not comfortable with doing a paint correction, then it’s best to let a professional handle the project. Otherwise, you can move onto the next phase.
Learn more about how to wash and maintain a black car.
Step 5: Protection
The final step is to add a protective layer to your new car. There are a few different methods of protection:
- Ceramic Coating: The most expensive option, but offers the best protection and lasts much longer than traditional waxes and sealants.
- Car Wax: More cost effective with good protection, but requires more re-application than ceramic coatings.
There is a third option, and that’s 3D Car Care’s latest release, the GLW Series SiO2 Ceramic Wax. This is a great route to take for those looking for cost effectiveness and ultimate protection. It’s infused with SiO2 ceramic properties that give you all the benefits of a ceramic coating, plus all the benefits of a traditional car wax.
Learn more about how to wax your car.
Interior Protection
Protecting the interior of your new car is a very simple process. Because the car is already new, there isn’t much to clean. For the most part, the interiors of new cars are in pretty good shape.
It’s worth noting that modern car interiors use materials that have UV protection built into them. This means that you probably won’t experience cracking or sun damage on surfaces exposed to the elements.
We recommend using an SiO2 ceramic infused interior detail spray to spot-clean whenever necessary, or during maintenance washes. If you want to take it a step further, detail the entirety of the car’s interior using this spray to get the ultimate protection from day one. This spray is a fantastic solution for keeping dirt, dust, grime, fingerprints, and more off high-touch surfaces. The best part? It’s safe to use on almost all interior surfaces, like leather, vinyl, plastic, door panels, infotainment screens, and more.

Wrapping Up
In conclusion, protecting your new car is essential to maintain its value and appearance. While the dealership may offer to detail your car, it's best to avoid their services as they often lack the expertise needed for proper preparation and protection. Instead, follow the steps outlined above to ensure your new car is well-prepared and safeguarded.
By following these tips and tricks, you can ensure that your new car remains in excellent condition for years to come. Enjoy your investment and the peace of mind that comes with knowing you've taken the necessary steps to protect it.