For a complete buffing job on a typical car, you’ll generally need around 6-8 pads: 2-3 cutting pads, 2-3 polishing pads, and 1-2 finishing pads.
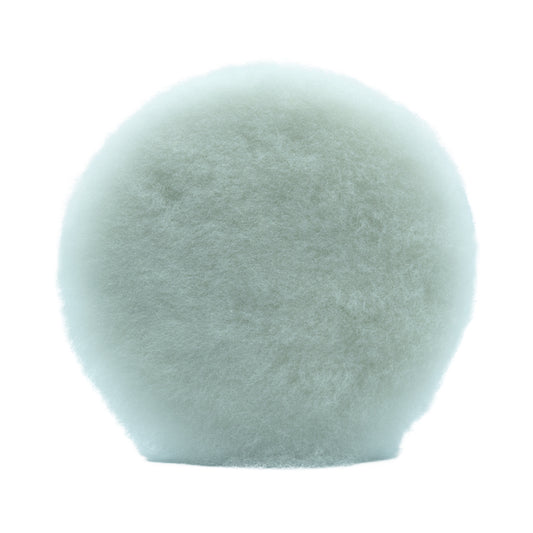
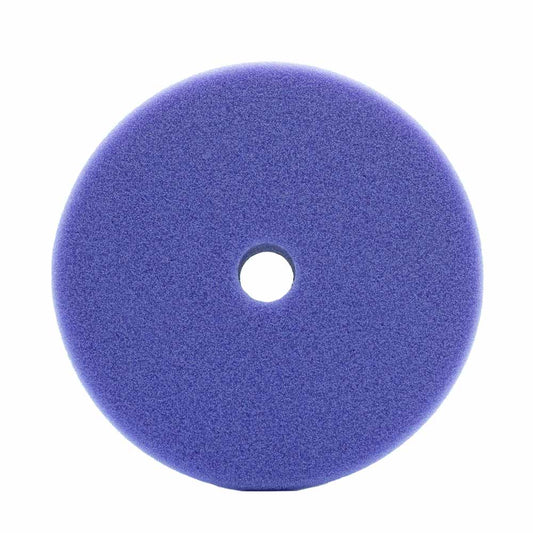
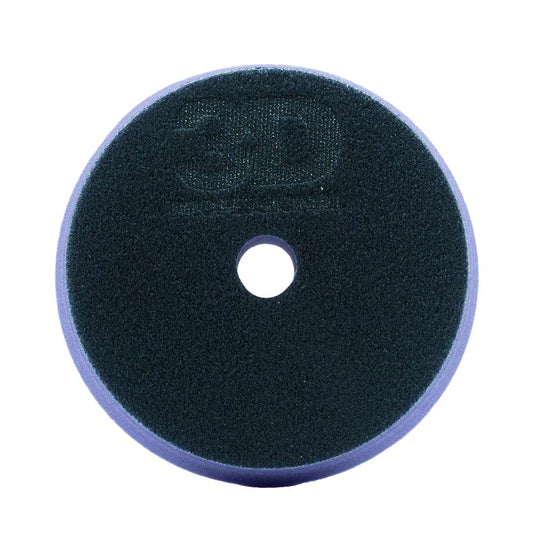
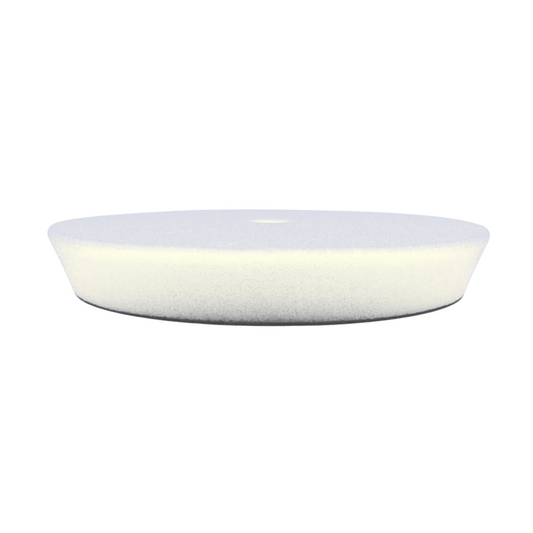
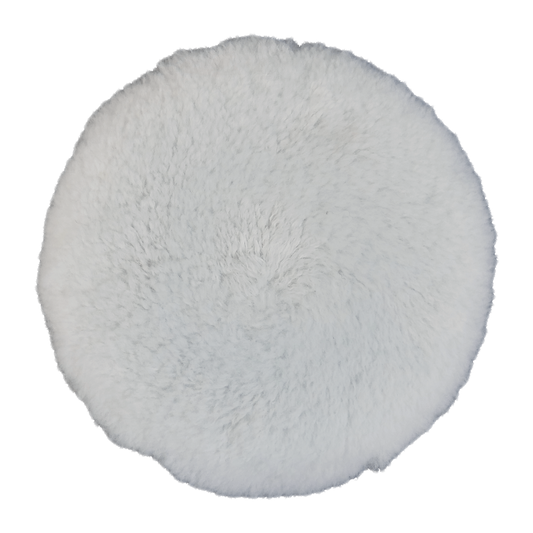
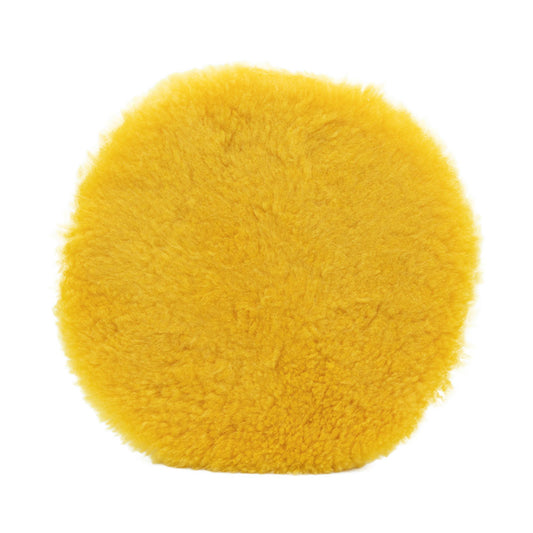
When buffing out a car with a dual action (DA) polisher, the number of pads you'll need depends on several factors, including the vehicle's size, the paint's condition, and the specific tasks you plan to perform. Generally, you’ll need different types of pads for different stages of the process: cutting pads for initial paint correction, polishing pads for refining the surface and finishing pads for applying wax or sealant.
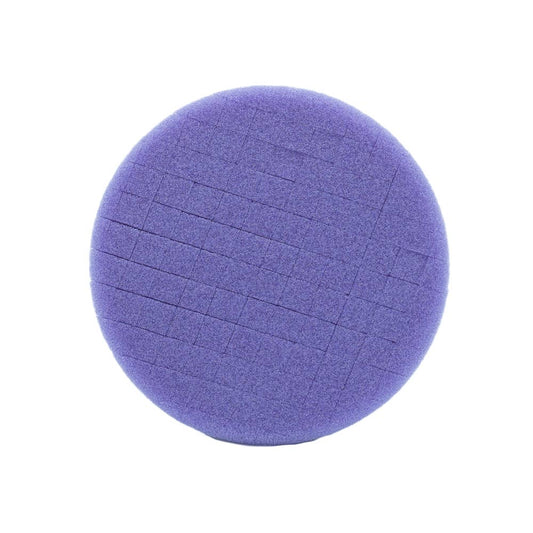
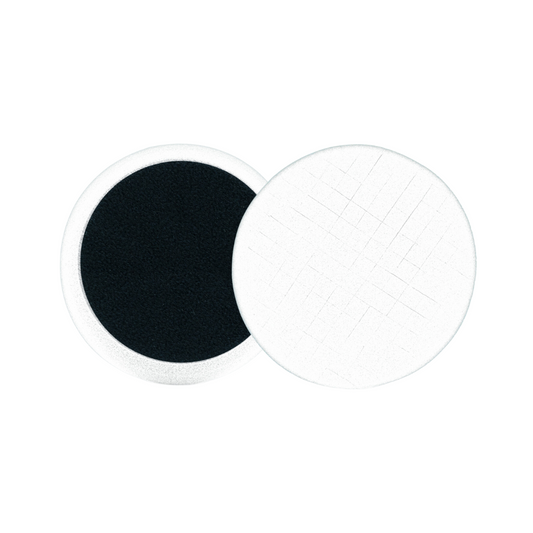
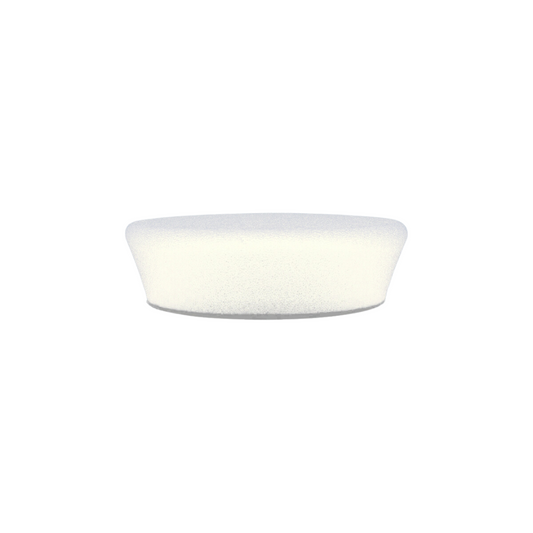
For the cutting stage, it’s advisable to have 2-3 cutting pads. These pads can become saturated with compound and paint residue, reducing their effectiveness, so having a few on hand allows you to switch to a fresh pad as needed. Similarly, you’ll need 2-3 polishing pads to maintain optimal performance during the polishing stage. 1-2 finishing pads should suffice for the finishing stage since they don’t accumulate as much residue.
The size and condition of the vehicle also play a role. For a small to medium-sized car, you might get away with 2 cutting pads, 2 polishing pads, and 1 finishing pad. For a larger vehicle or one with severely neglected paint, you may need 3 cutting pads, 3 polishing pads, and 2 finishing pads. Additionally, having a couple of smaller pads (3-4 inches) can be handy for tight spots and intricate areas.
Pad maintenance is crucial to keep them effective throughout the job. Cleaning your pads regularly during the process with a pad cleaning brush or pad washer can extend their usability.